Looking to add a professional flair to your DIY crafts? Say hello to Cricut Print Then Cut, your new secret weapon for creating stunning projects effortlessly.
In this guide, we’ll take you on a tour of Cricut Print Then Cut, covering how to pick the ideal inkjet printer, which paper to use, and how to get started on your first project.
By the end, you’ll know how to get a design set up properly in Cricut’s Design Space, and we’ll give you some tips for getting both your printer and Cricut calibrated for accurate, clean cuts. This technique works for stickers, labels, magnets, and so much more.
So, if you’re ready to elevate your crafting game, let’s go!
Table of Contents
Cricut Print Then Cut: Full Tutorial
What is Cricut Print and Cut?
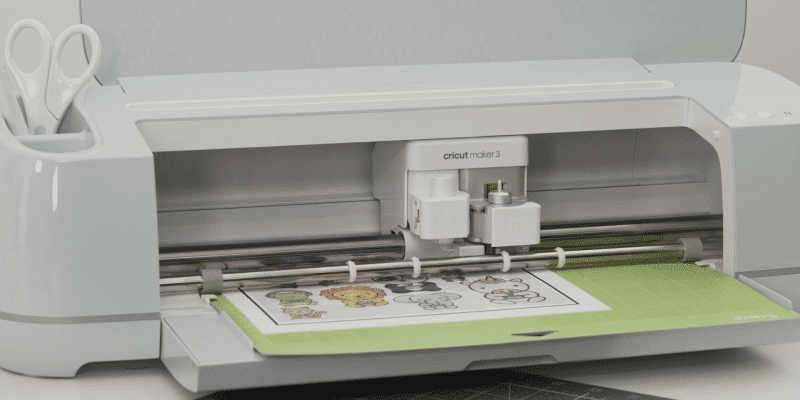
Cricut’s Print and Cut feature allows you to print an image or design on your home printer, and then use Cricut machines, like the Cricut Maker, Cricut Explore, or Cricut Joy, to accurately and precisely cut around that printed image, creating a perfect cutout.
And thanks to an update, the size capacity for Print Then Cut projects has increased from 6.75″ x 9.25″ to a maximum size of 11.7″ x 16.5″. This improvement gives you even more freedom and flexibility with your projects.
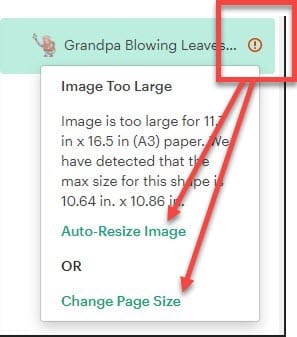
Cricut has also recently added auto resize which will catch any designs that are too large and resize them to fit your paper size. Auto resize catches a lot of possible mistakes, and it’s great to see Cricut adding small improvements over time to Print Then Cut!
In this guide, we’ll explore the many possibilities of Cricut Print Then Cut, from making colorful stickers for your planner to wall art, tags for gifts, and custom labels! You’ll be able to incorporate designs, photos, and illustrations into your projects without needing to worry about intricate weeding or layering.
Keep in mind that your Cricut machine itself won’t be doing the printing. Instead, we’ll use a home printer to first print our designs and then send them to our Cricut to cut around the printed design with its fine point blade, ensuring precise cutting.
If you’re here wondering… what is a Cricut machine? Just read that guide which really covers everything Cricut that you might want to know.
Print Then Cut Projects

Let’s explore a few of the projects you can create with Cricut Print and Cut:
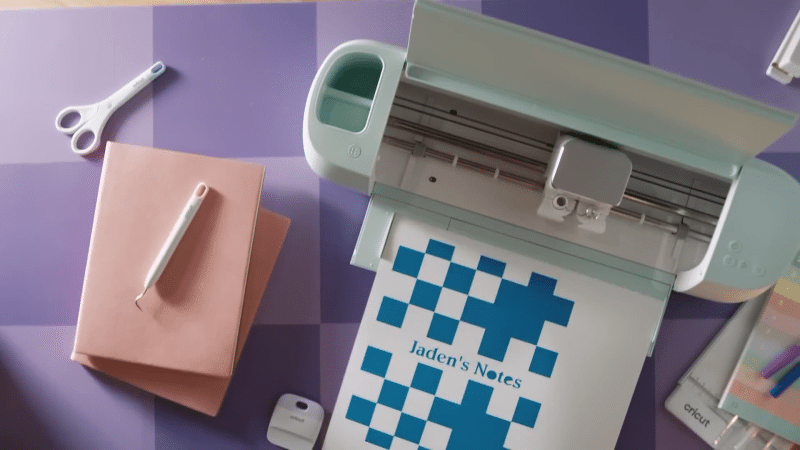
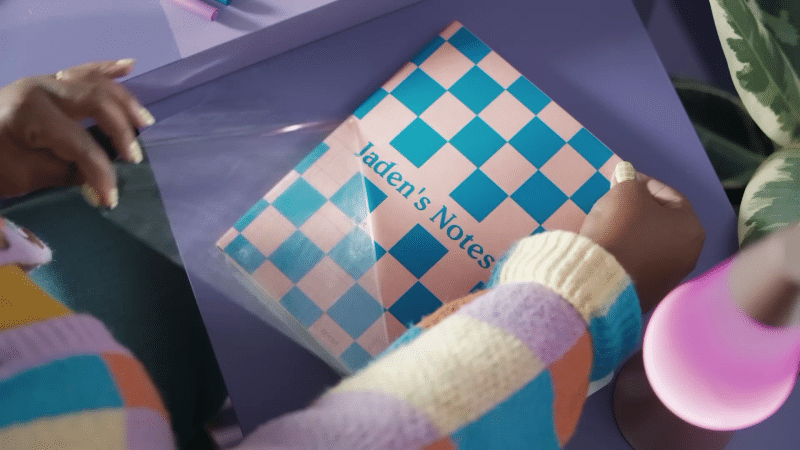
Custom stickers: Design and create your very own stickers to personalize notebooks, planners, or even to sell on Etsy. Print Then Cut makes it super easy to turn your designs into a high-quality, professional-looking sticker sheet.
Gift tags and pillow boxes: Add a special touch to your presents with personalized gift tags. Design tags for birthdays, weddings, or holidays, and use Print Then Cut to bring them to life. You can also design and print your own boxes using Print Then Cut, and bid farewell to plain gift wrapping.
Decorative magnets: Create refrigerator magnets for your home or as gifts for friends and family. Design your own images or use pre-made designs, and Print Then Cut to create your one-of-a-kind magnets.
Sublimation designs: Use Print Then Cut to create intricate and detailed sublimation designs for items like t-shirts, mugs, and more. Perfect for crafters wanting to branch out into new types of projects.
Garden flags: Personalize your outdoor space with custom garden flags. Print and cut your own designs on fabric or vinyl material to create a unique and eye-catching addition to your garden.
Personalized shampoo and conditioner bottles: Upgrade your bathroom with custom labels for your shampoo and conditioner bottles. Print Then Cut allows you to create waterproof and durable labels that can withstand the daily wear and tear of a bathroom environment.
Which printer should I use for Print and Cut with Cricut?
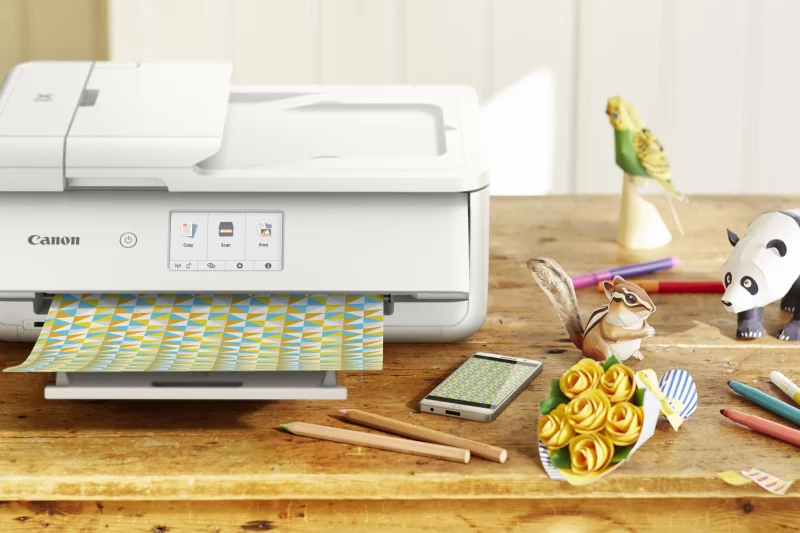
First, if you already have an inkjet printer that can print on standard letter size paper (8.5” x 11”), it should work with Cricut Print and Cut, but two models stand out when paired with Cricut machines: The Canon PIXMA TS9521C and the Canon PIXMA MG3620. These are both wireless 3-1 Print/Copy/Scan machines and they mainly differ in print quality and size of paper supported.
The Canon PIXMA TS9521C is a versatile all-in-one printer that caters to all your crafting needs. Known as the “Crafting Printer,” the TS9521C offers a wide array of features designed just for us. They have an incredible maximum resolution of 4800 x 1200 dpi, which ensures sticker sheet designs are printed with precision and really vivid colors. This model also supports a variety of paper types and sizes, including 12″ x 12″ paper, ideal for larger sticker sheets.
Another notable feature of the PIXMA TS9521C is its automatic document feeder and automatic duplex printing, which can significantly streamline the crafting process. Its five-color individual ink system ensures high-quality prints, offering the best color performance for your stickers.

Meet the printer made for crafting, scrapbooking and is packed with lots of fun features the PIXMA TS9521C Crafter’s All In One printer. Designed with the features you want like 12″x12″ borderless printing, versatile paper feeding options including greeting card stock, and built-in printable patterns this printer gives you the ultimate in printing versatility.
The Canon PIXMA MG3620 is an affordable alternative. This printer also supports a maximum resolution of 4800 x 1200 dpi, similar to the TS9521C. Although it doesn’t offer the same range of paper size options as the TS9521C, it’s fully capable of producing excellent stickers using standard paper sizes.
The PIXMA MG3620 also features automatic duplex printing and supports mobile device printing, which adds convenience to your crafting process. This model is perfect for crafters on a budget who don’t want to compromise on print quality and who might be working on smaller projects.
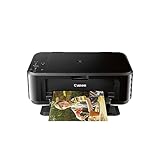
- Quick and easy wireless setup
- Powerful printing options: Airprint, Google Cloud Print, NFC, Mopria and Canon Print
- Compact and space-saving design, Auto 2-Sided Printing
Both printers excel in delivering superior print quality, making them great choices for your Cricut Print Then Cut projects. While the PIXMA TS9521C might appeal to more advanced crafters due to its wider paper support and specialized crafting features, the PIXMA MG3620 offers excellent value and quality within a tighter budget.
Do remember that the final outcome can vary based on the printer’s settings and the quality of ink used. Opt for ‘Best’ or ‘High Quality’ settings on your printer, and ensure you’ve selected the correct paper type.
And keep in mind, while Cricut Print and Cut works with any color inkjet printer, it doesn’t support laser printers, due to their potential to interfere with the cutting machine’s optical sensor.
Types of Materials for Print then Cut
Let’s cover a few of the different printable materials you can use with Print Then Cut. Right after this, we’ll get into the tutorial!
Paper: The most common material used for Print then Cut is regular paper. It’s perfect for creating printed images, stickers, and scrapbooking embellishments. When using paper, make sure to choose a high-quality option suitable for your new printer to achieve the best results.
Cardstock: Thicker than paper, cardstock is a great choice for projects that require a bit more durability, such as greeting cards, invitations, and paper crafts. You’ll want to use cardstock that’s compatible with your printer, and don’t forget to adjust your printer settings to ensure the best print quality.
Printable Vinyl: For those looking to cut vinyl decals and planner stickers that are more resistant to moisture and wear, printable vinyl is an excellent choice. Printable vinyl is designed to be used with inkjet printers, and once your design is printed, it can be easily cut using Cricut Design Space and Print then Cut. Keep in mind that printable vinyl usually has an adhesive backing, so it’s perfect for creating custom stickers and labels.
Printable Iron-On Materials: If you’re interested in personalizing clothing, tote bags, or other fabric items, printable iron-on materials are the way to go. These materials allow you to print your design using an inkjet printer, then use a heat press or iron to transfer the image onto your fabric. There are different types of iron-on materials available, so make sure to choose one that’s compatible with your printer and fabric type.
Sticker Paper: Sticker paper is a popular choice for making custom stickers with Cricut. Available in a variety of finishes such as matte, glossy, and clear, sticker paper is designed to be used with your home inkjet or laser printer. The adhesive backing makes it easy to apply your designs to a range of surfaces. When using the Print Then Cut with sticker paper, ensure that the Cricut settings are correctly adjusted to cleanly cut through the sticker paper but not the backing sheet. As always, remember to test a small piece first before committing to a full design cut. Always choose high-quality sticker paper to guarantee bright colors and crisp edges on your printed designs.
Creating Print Then Cut Images
To create stunning Print Then Cut images in Cricut Design Space, you have several methods at your disposal, each suited for different needs. Here’s a step-by-step guide to make the process as smooth as possible.
Method 1: Using the Cricut Image Library
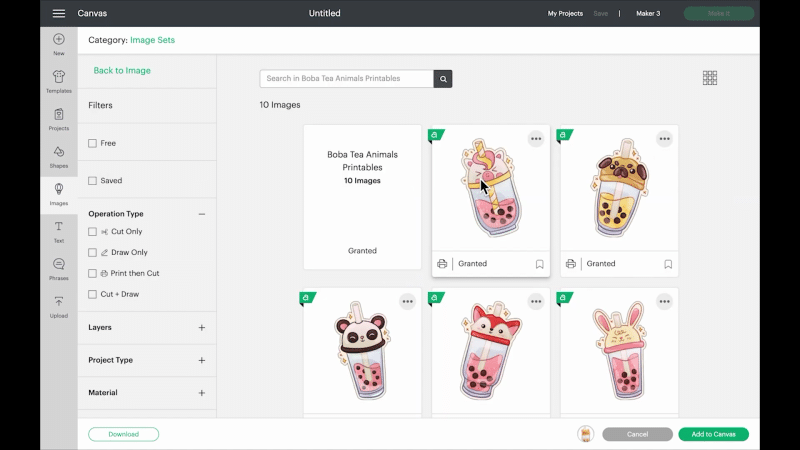
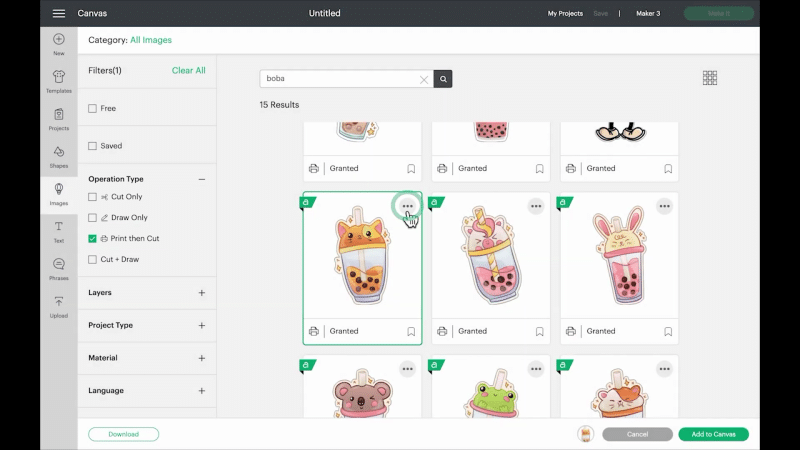
- Open Cricut Design Space and click on the “Images” button on the left side of the screen.
- Browse through the library to find the perfect image, using the search bar if necessary. Don’t worry if the image has multiple layers, as we’ll tackle that next.
- Insert the image onto your canvas by selecting it and clicking “Add to Canvas.”
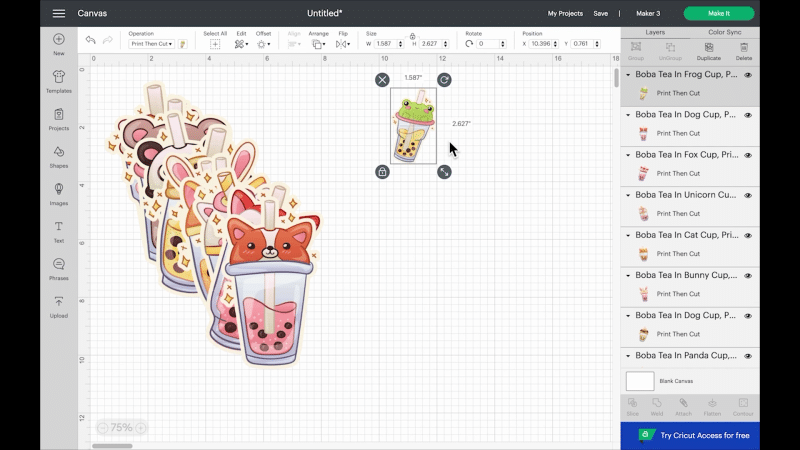
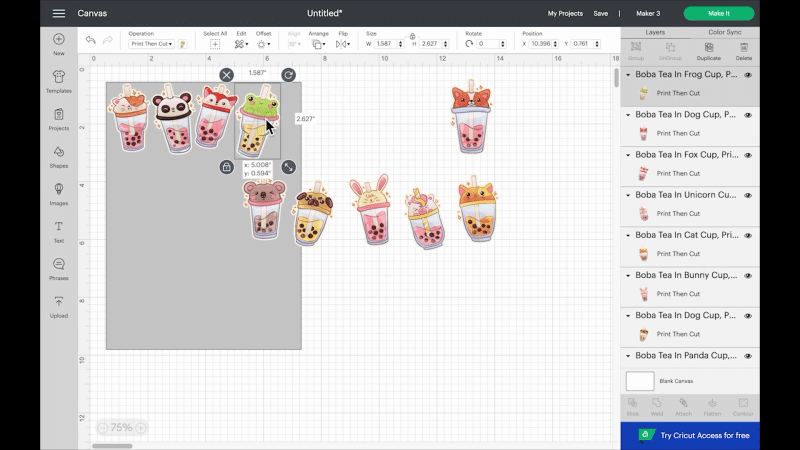
- Since Cricut Print Then Cut requires a single-layer image, you must flatten the image by selecting all layers and clicking the “Flatten” button at the bottom of the Layers panel.
Method 2: Converting Cut Images
- Find a cut image you’d like to convert to Print Then Cut format in Cricut Design Space.
- Select the image and change its Linetype to “Print” in the Linetype dropdown menu located at the top of the screen.
- With the image still selected, flatten the image using the “Flatten” tool at the bottom of the Layers panel.
Method 3: Image Uploading
- Upload a PNG or SVG file format for the image you want to use in Cricut Design Space by clicking the “Upload” button on the left side of the screen.
- After importing, insert the image onto your canvas. Flattening may be necessary for multi-layer SVG files.
- Adjust the image’s Linetype to “Print” if it isn’t already set that way.
Method 4: Adding Backgrounds
- Add a shape to your canvas by selecting the “Shapes” button on the left side of the screen.
- Resize and manipulate the shape to fit as an appropriate background for your image.
- Change the fill color of the shape, and place it behind your image by right-clicking and selecting “Send to back.”
- Select both the image and the background shape and click “Flatten” at the bottom of the Layers panel.
Our tips:
- To make cutting stickers easier, add an offset around the image using the Offset feature in Cricut Design Space or by manually creating an offset with basic shapes.
- Maximize the use of your sticker paper by filling your canvas with as many images as possible.
- Always double-check your printer settings and material placement before printing and cutting to ensure the best results with printable sticker paper.
Calibrating Print Then Cut
Before diving into a first project with Print Then Cut, we’ll need to first calibrate your Cricut Maker or Cricut Explore machine to ensure perfect cuts. Calibrating your machine helps it align with the sensor marks and achieve the most accurate cuts possible. Let’s walk through the entire process using Cricut Design Space and a home printer.
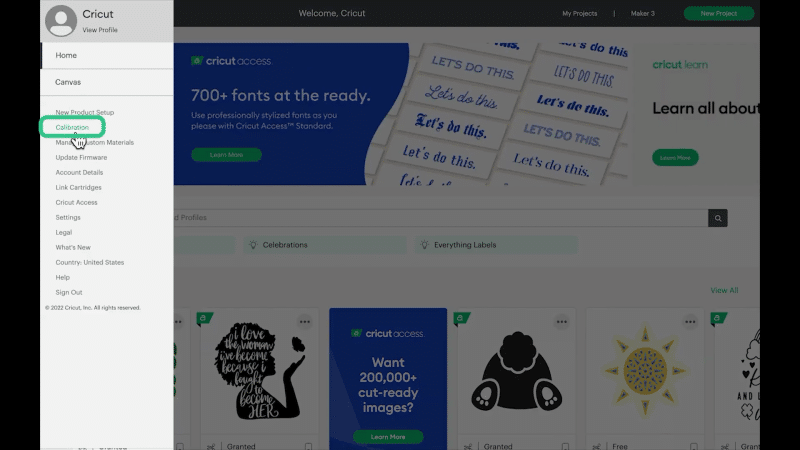
Open Cricut Design Space on your computer and locate the hamburger menu (three horizontal lines) in the upper left corner. Click on this menu and select Calibration.
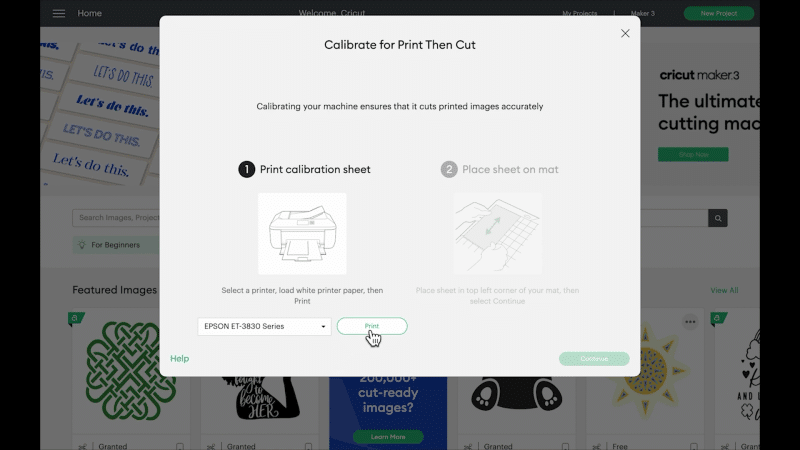
If you’re using a Cricut Maker, make sure to choose the Print Then Cut option during calibration. Cricut Explore users can follow the on-screen prompts.
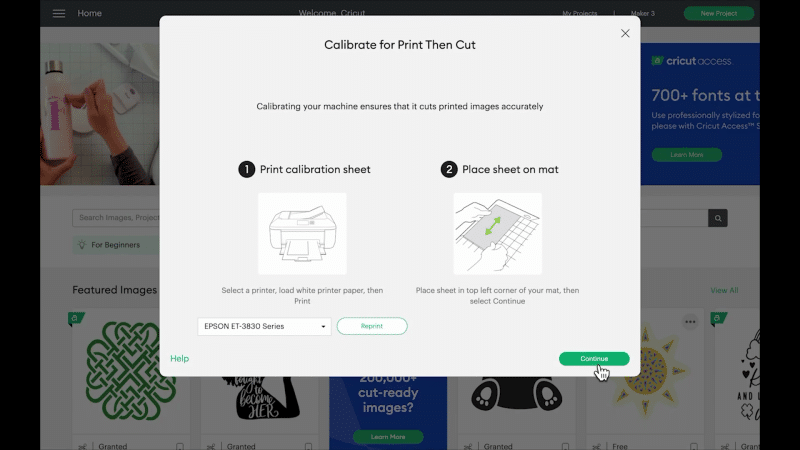
Cricut Design Space will now guide you through the calibration process by printing a calibration sheet with sensor marks on your home printer. Print the calibration sheet and place it on your Cricut mat.
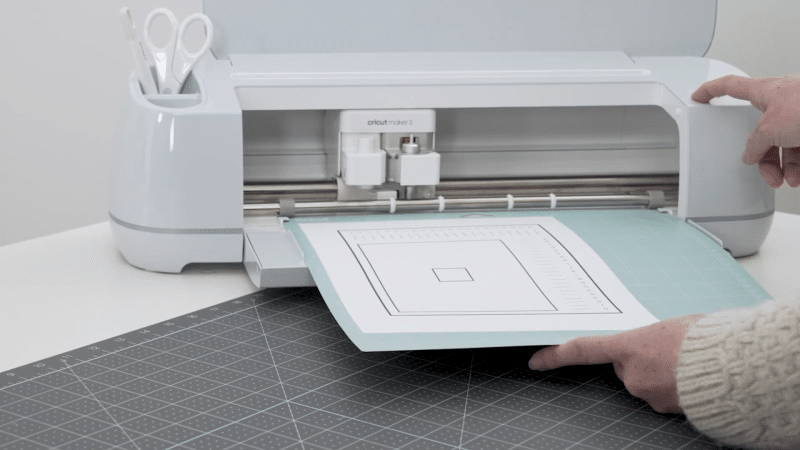
Load the mat with the printed calibration sheet into your machine, following the on-screen prompts in Cricut Design Space.
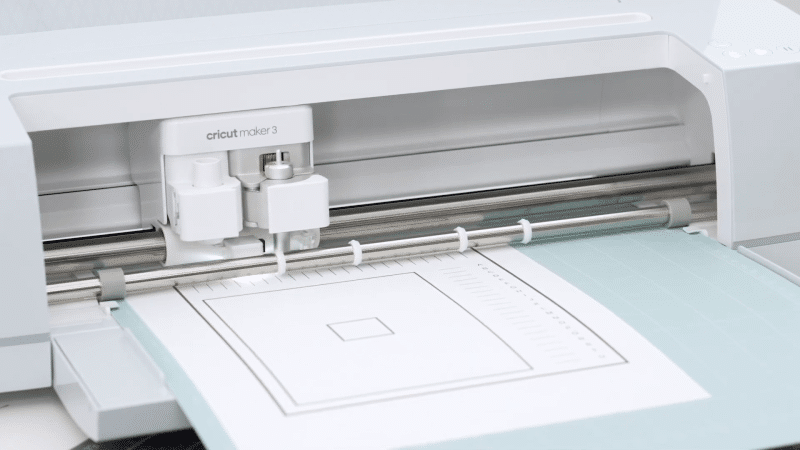
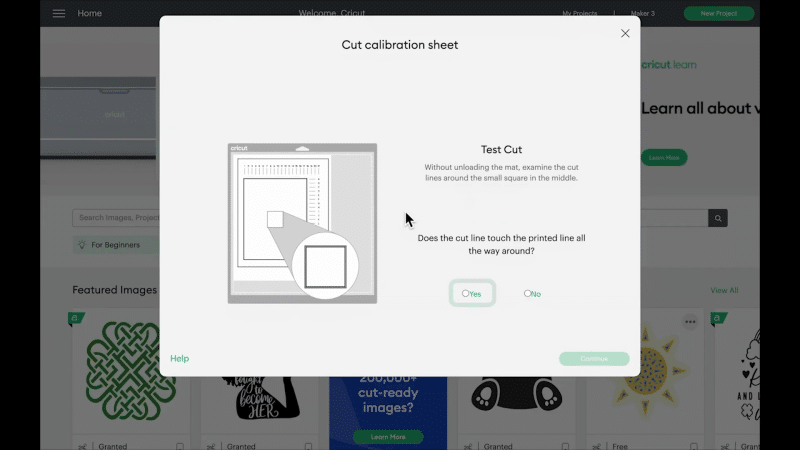
Your Cricut machine will now scan and read the sensor marks on the sheet and perform a series of test cuts to ensure accurate cutting.
Once the test cuts are complete, examine the cuts to ensure they are aligned with the printed shapes. If necessary, adjust the calibration settings in Cricut Design Space to fine-tune the cuts.
Save the calibration settings, and your machine is now calibrated for Print Then Cut projects. Remember, you only need to calibrate your machine once before your first project.
Our tips:
- Always ensure your machine’s firmware is up-to-date to achieve accurate Print Then Cut results.
- Clean your Cricut machine’s optical sensor regularly to maintain proper calibration and alignment with sensor marks.
- If you change printers or encounter issues with projects, recalibrate your Cricut to ensure the best results.
Cricut Print Then Cut Project Tutorial
In this tutorial, we’ll walk you through a detailed example of a Cricut Print and Cut project from start to finish. Here are the materials you’ll need:
- Cricut cutting machine (such as Cricut Explore Air 2, Cricut Joy, or Cricut Maker)
- Computer with Cricut Design Space installed
- PNG or SVG image file
- Printer (preferably a rear-loading tray inkjet printer)
- Printable sticker paper or desired material for printing
- 12×12 Cricut mat
- Brayer or similar tool to adhere the material to the mat
Let’s start!
Step 1 – Opening Design Space
Open Cricut Design Space on your computer and upload a PNG or SVG image file. Choose an existing design from Cricut Access or upload your own image. These file types allow you to have a transparent background, which is important for the Print and Cut process.
Step 2 – Resizing
Resize the image to the maximum size allowed for your printer if it’s a large image. For a standard letter-size printer, this would be 8.5 by 11 inches. Be mindful of the size limitations for Print and Cut projects, as exceeding these limits can lead to cutting errors.
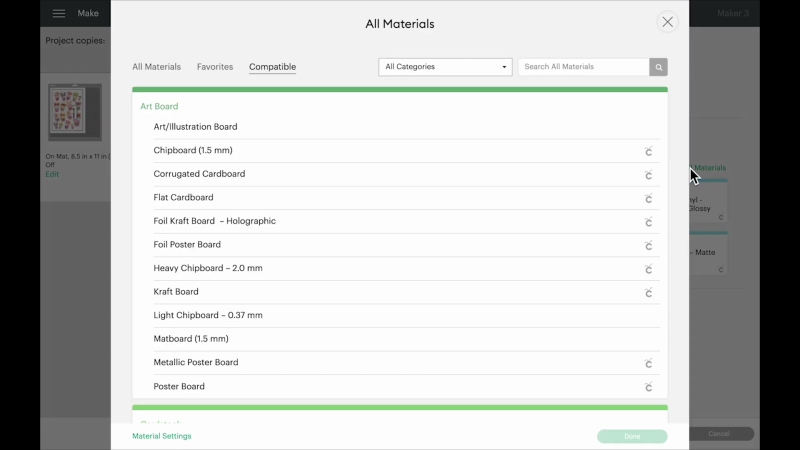
Step 3 – Adjusting the material size

Click “Make It” and adjust the material size to match your printer’s paper size. This ensures that the design will be properly aligned when printed and cut.
Step 4 – Sending a design to your printer.
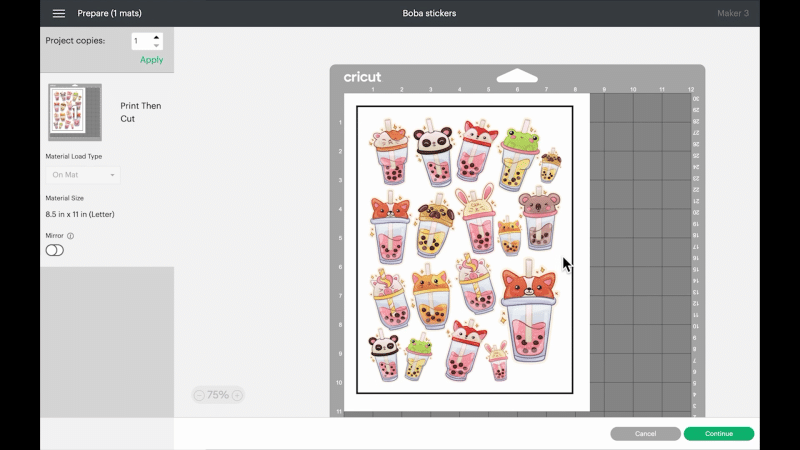
Click “Continue” and send the design to your printer. Make sure you choose the appropriate settings in the print setup dialog box, such as selecting your specific printer and adjusting the quality setting.
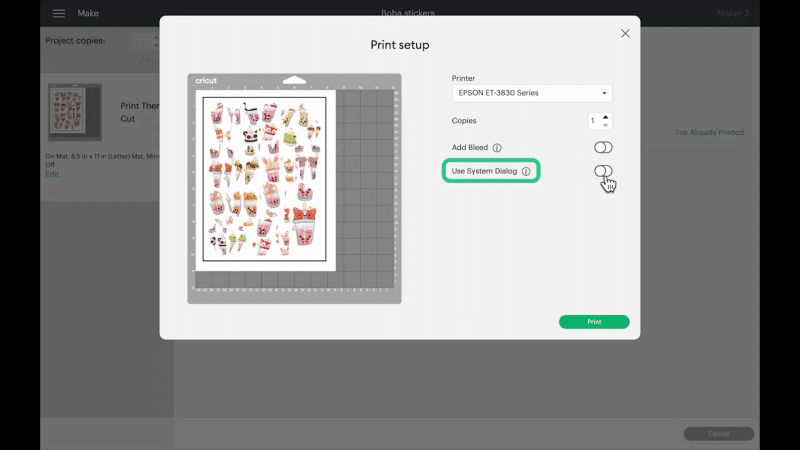
You’ll want to select “Use System Dialog” as seen above. If it doesn’t pop up after you select print, it may have opened behind your Design Space window.
Step 5 – Printing your design.
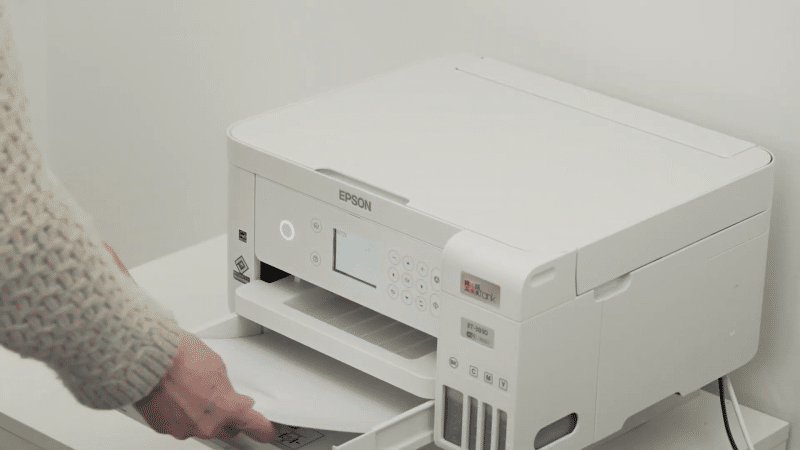
Print the design with high-quality settings on printable sticker paper or your material of choice.
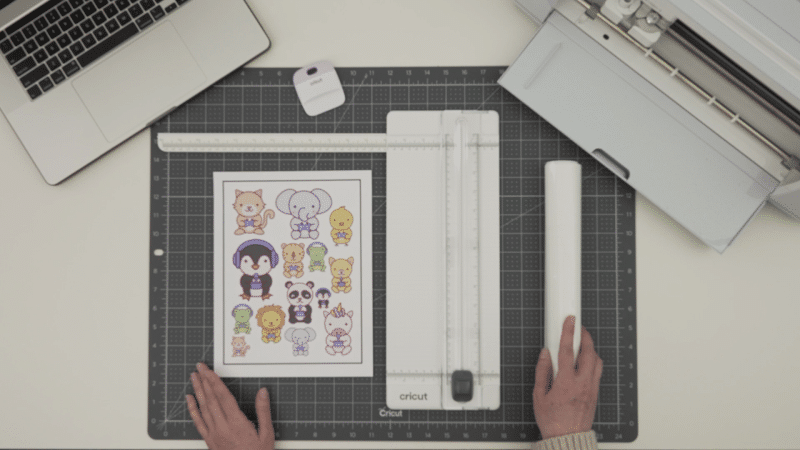
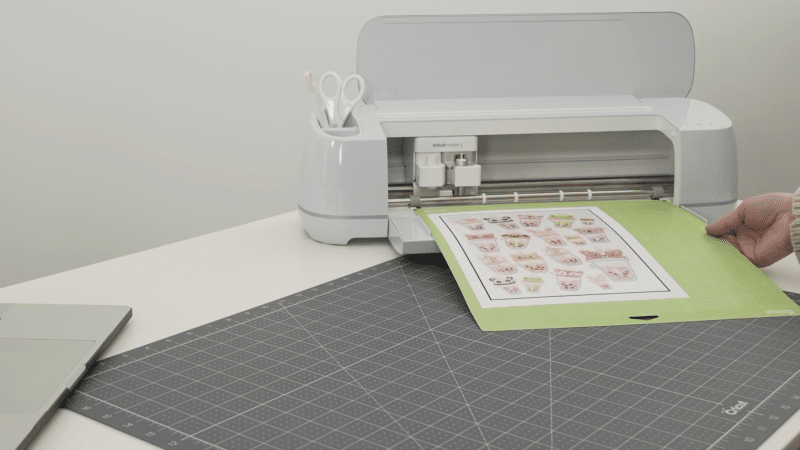
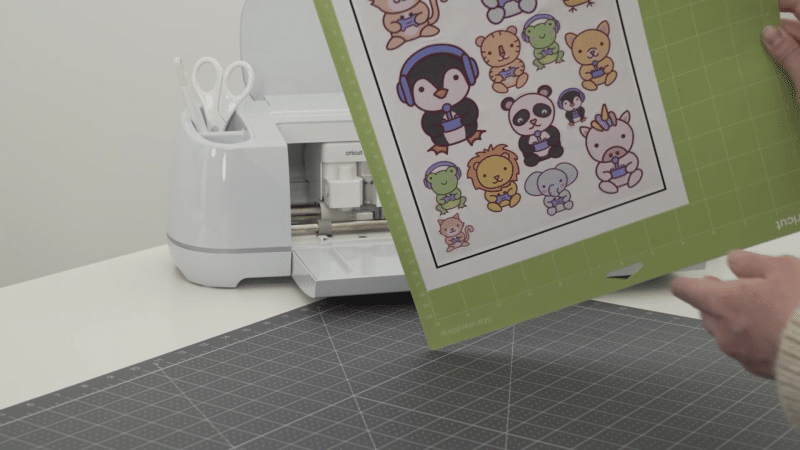
Step 6 – Aligning your printed design on the mat.
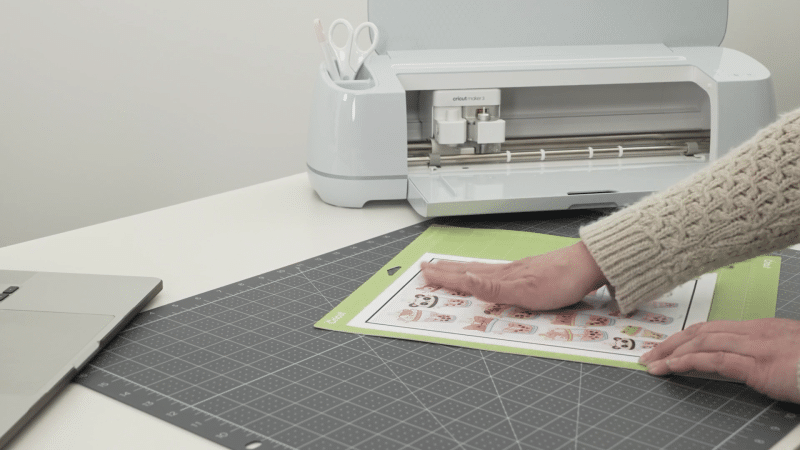
Place the printed design on the 12×12 Cricut mat, aligning it in the top-left corner. Make sure the design is straight and properly positioned on the mat.
Use a brayer to ensure the material is well-adhered to the mat. Roll the brayer over the entire surface of the material, applying even pressure to ensure a strong bond between the mat and the material.
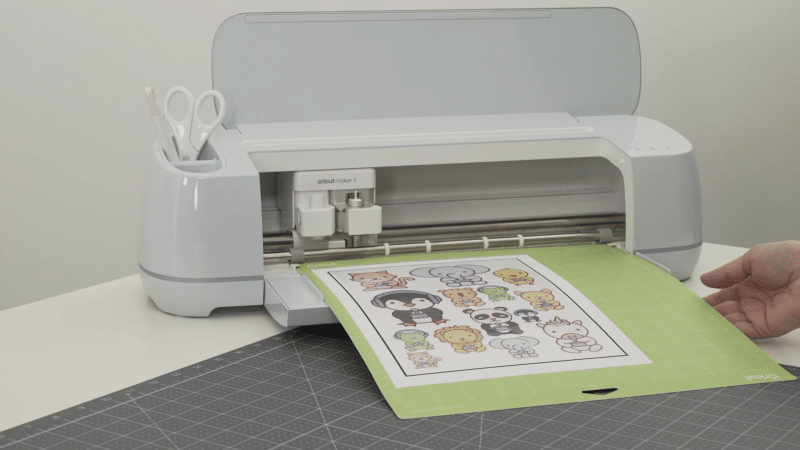
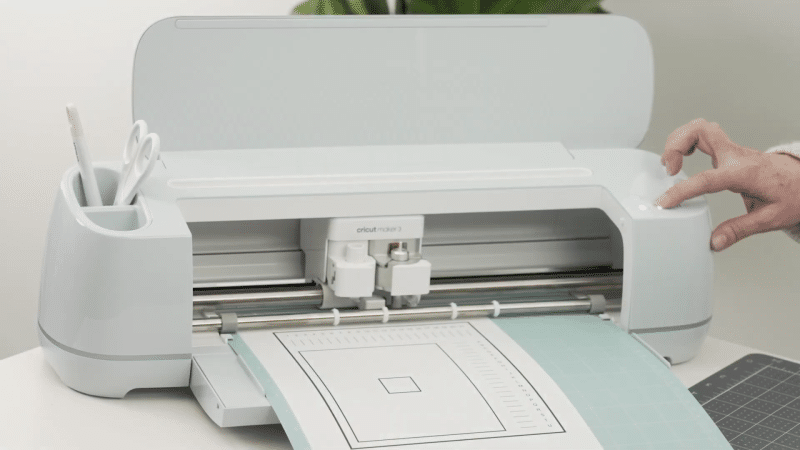
Step 7 – Loading your design into your Cricut.
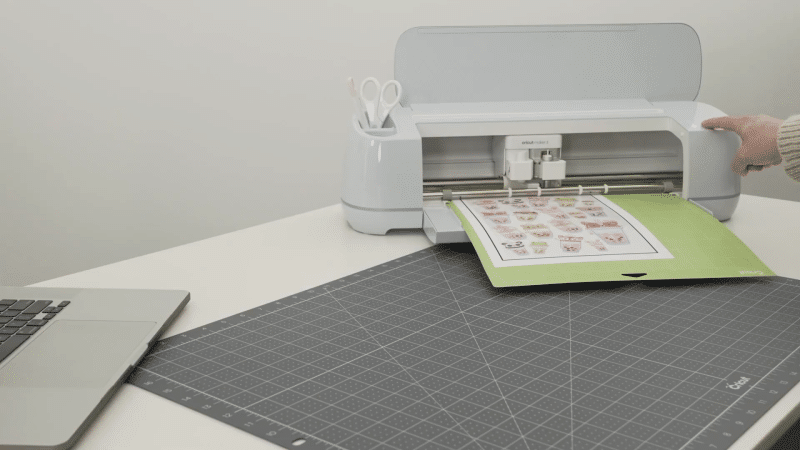
Load the Cricut mat into the Cricut machine, following your machine’s specific loading instructions. The Cricut will sense the registration marks on the printed design and adjust its cutting accordingly.
Step 8 – Examine your project.
Check if the Cricut has cut through the material. After the cutting is complete, inspect your project to ensure the cuts are clean and precise. If the cuts haven’t gone all the way through, press Load once more and make another pass.
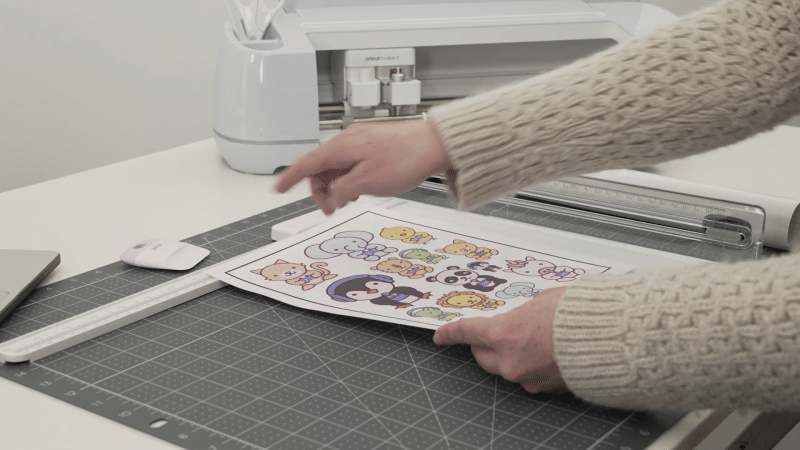
Remove excess material and peel your finished creation from the mat. Carefully remove the negative spaces from your sticker sheet, leaving only the printed and cut stickers. Then, gently peel your cut stickers off the mat, taking care not to damage your design.
Our tips:
- Always use a rear-loading tray inkjet printer with high-quality settings for the best results in Print and Cut projects.
- When using new materials, always test the print settings and material compatibility to ensure a successful project.
- Keep your Cricut mat clean and well-maintained to prolong its life and achieve better-cutting results.
FAQ
What is the difference between Cut and Print and Cut on Cricut Design Space?
The “Cut” feature is for cutting vector images directly from materials like vinyl or cardstock without any printing. The “Print and Cut” feature, on the other hand, involves printing printable images onto materials like sticker paper or adhesive sheets, and then using the Cricut machine to cut around the printed design.
What is the Cricut Print and Cut size limit?
The Print and Cut size limit is 11.7 inches by 16.5 inches for Cricut machines. This allows enough space for your machine to read the registration marks and accurately cut around the printed image.
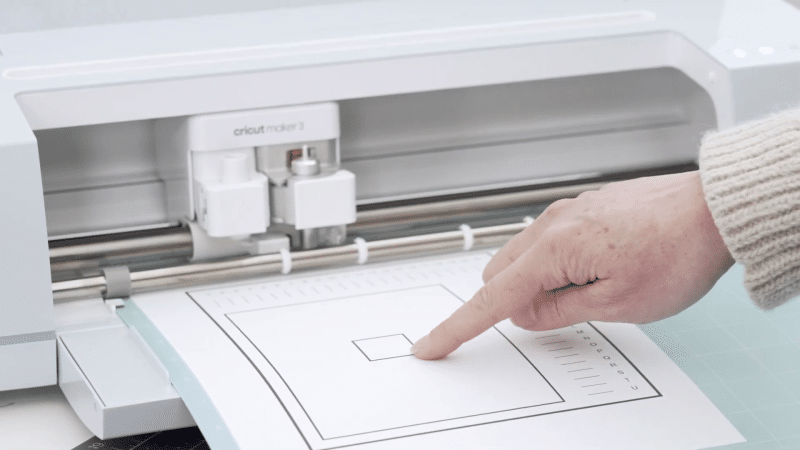
What are the black marks around my Cricut Print and Cut image?
The black box, also known as cut sensor marks, are used by the Cricut machine to align and calibrate the cutting process. These marks ensure that your machine cuts precisely around the printed design.
What is an image bleed?
An image bleed is a small border of extra color or image that extends beyond the cut line. This ensures that when the Cricut machine cuts around the printed design, there are no white edges left on the finished piece. The image bleed is automatically added when using the Print and Cut feature in Cricut Design Space.
Do you Mirror Print and Cut?
No, mirroring is not necessary when using Print Then Cut on Cricut. The mirror function is typically used for heat transfer vinyl projects where the image is intentionally flipped (mirrored) because it will be reversed when applied to a project (like a T-shirt or a mug). With Print Then Cut, the image is printed first, then cut as it appears, so there’s no need to mirror.
Does Cricut Print?
No, the Cricut machine itself does not print. Cricut is a cutting machine. The Print Then Cut feature implies that you first print your design using a home printer, and then the printed material is placed onto the Cricut machine’s mat for cutting. Cricut Design Space will guide you through the process.
When to use Bleed or No Bleed?
You would typically use the “Bleed” option when you want to ensure that your printed design is completely filled to the edges after the cut. This is beneficial when you’re working with intricate designs or when you want to ensure that no white edges show on the final project after cutting.
The “No Bleed” option is useful when your design has a defined border that you want to preserve or when your printed design doesn’t need to go right to the edge. This could be a preference in some projects where a border or white space is part of the design aesthetic.
How can you easily tile images for a Print Then Cut project?
Tiling images is a useful technique when you want to cut a larger design that exceeds the Print Then Cut size limit or when you want to get the most out of your material. While Cricut Design Space does not have a specific feature for tiling, you can do it manually using the following steps:
- Upload and Scale the Image: Import your image into Cricut Design Space and scale it to the size you want your final project to be.
- Create Tiles: Because the Print Then Cut size limit is 11.7″ x 16.5″ (for a desktop printer), you’ll need to divide your design into sections that fit within these dimensions. You can do this by creating rectangles of the same size (11.7″ x 16.5″) and placing them over your image. Use the “Shapes” tool on the left toolbar to create these rectangles.
- Slice the Image: Select one rectangle and the image, then click on the “Slice” tool at the bottom of the Layers panel. This will cut that portion of your design. Repeat this step for each rectangle you’ve overlaid on your design.
- Arrange and Group the Tiles: Now, arrange each sliced section to fit within the Print Then Cut limit. Group each section with its respective rectangle to maintain organization.
- Print Then Cut: You can now proceed to print and cut each section separately.
- Assemble Your Project: Once you have cut out all of the sections, you can piece them together on your final project surface like a puzzle to create the complete design if you’re working on a larger image.
Should you use JPEGs or SVG images? How can you make your own?
JPEG, PNG, and SVGs are all supported with Cricut Print Then Cut. However, they each have their own advantages and disadvantages, depending on the nature of your project.
- JPEG: This file type is best for photographs or complex images with lots of colors. JPEGs do not support transparency, so when you upload a JPEG, the Cricut software will prompt you to remove any background you don’t want to be printed.
- PNG: PNG files are best for images that require transparency, like logos or images without a background. When you upload a PNG to the Cricut Design Space, it will retain its transparency.
- SVG: SVG stands for Scalable Vector Graphics. This type of file is best for intricate designs or for projects that need to be resized a lot because, unlike JPEGs and PNGs, SVGs can be scaled up or down without losing any quality. To use an SVG with Cricut Print and Cut you will have to use the flatten tool first.
To create your own images to use with Print Then Cut:
- JPEG or PNG: You can create JPEG or PNG images using most graphic design software like Adobe Photoshop, Adobe Illustrator, or even free tools like Canva. Once you’ve created your image, save it in the appropriate format (JPEG or PNG) and then you can upload it to the Cricut Design Space.
- SVG: Creating SVG files typically requires more advanced graphic design software like Adobe Illustrator or Inkscape. After you’ve created your design, you can save it as an SVG file and then upload it to the Cricut Design Space.
Once your image is created and saved in the correct format, you can upload it to Cricut Design Space by selecting “Upload” from the left-hand toolbar, then “Upload Image,” and follow the prompts to upload and save your image in the Design Space.
Generally, if you can find a suitable SVG printable image, that’s the best to use because they scale easily and are already designed to be cut.


