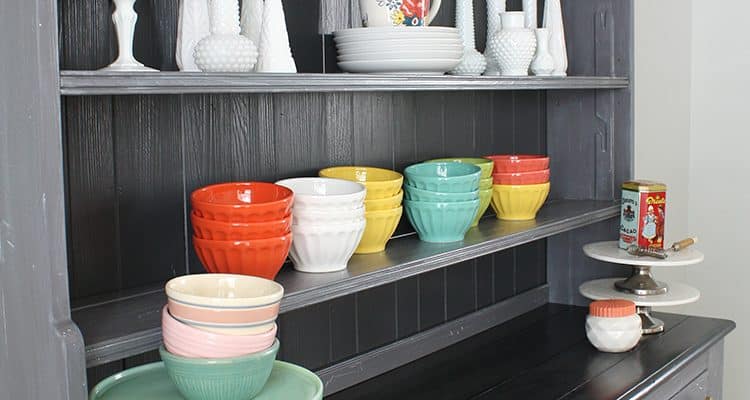
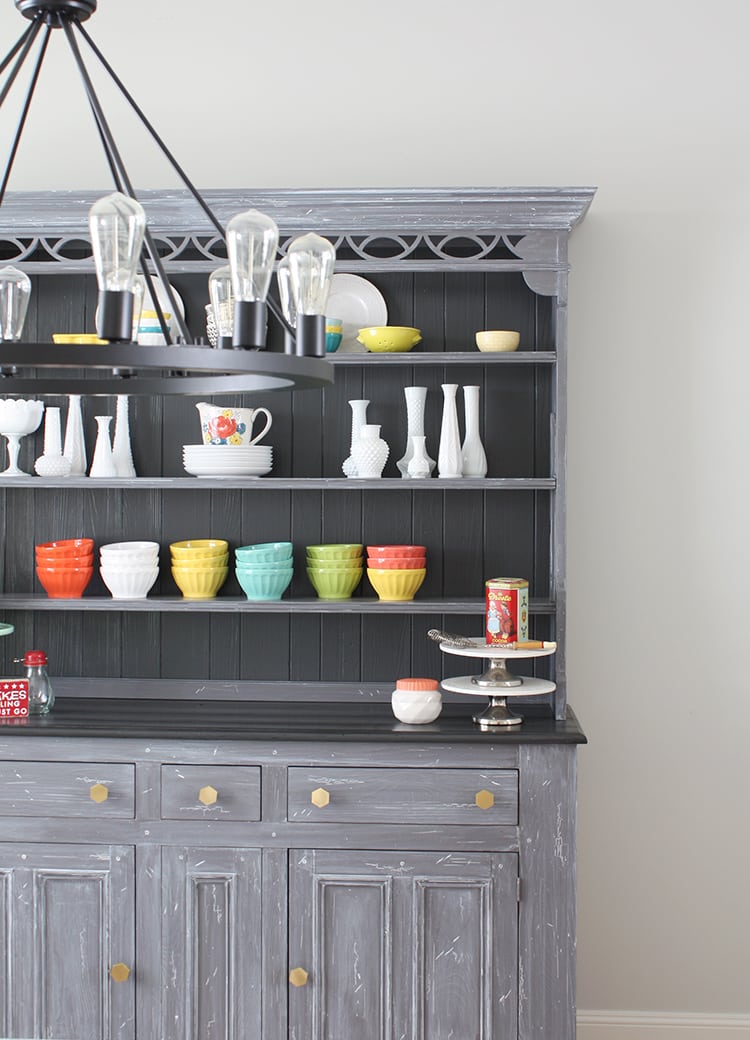
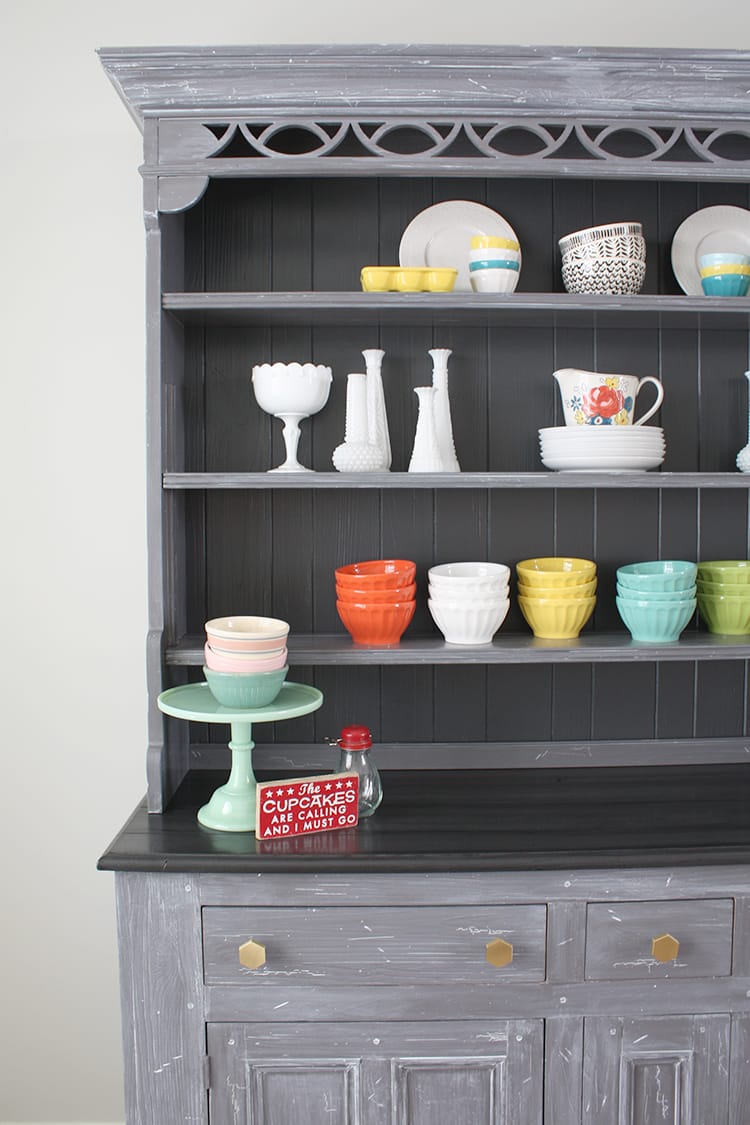
I’m so excited to share this project with you! This is one of my most ambitious painting projects to date. Earlier this year, I planned a dining room makeover, and I’ve been hard at work ever since. This hutch makeover is a big piece of the puzzle, so I’ll be sharing the completed room with you very soon. But for today, here’s the finished hutch:
Here’s a peek at what it looked like before:
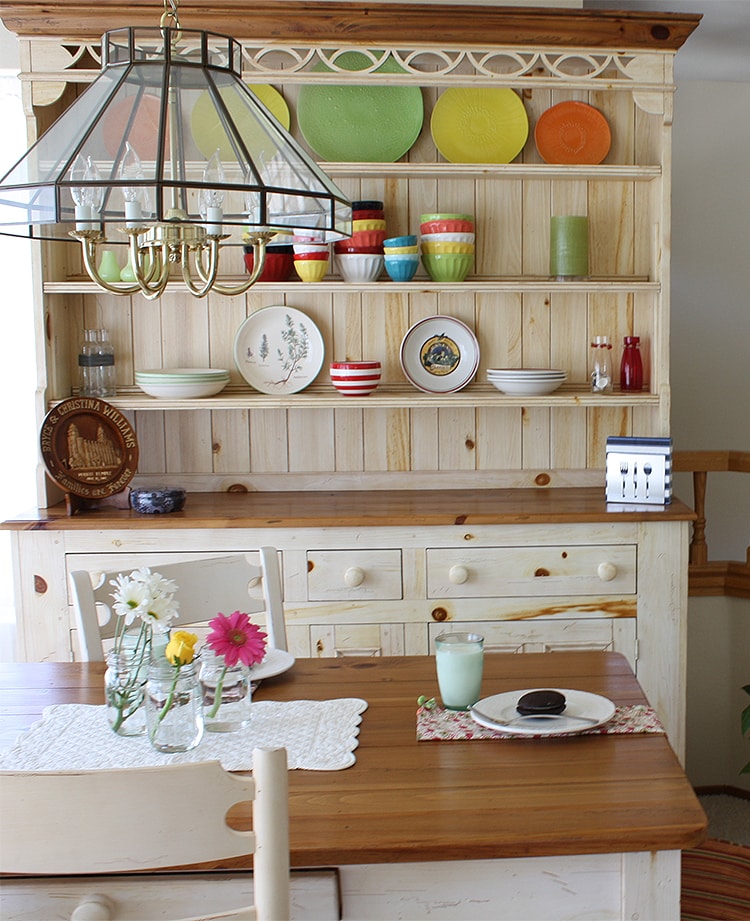
True to form, I started my painting project without taking an “official” before photo, so that left me digging through my archives for a decent before photo of this piece. I had to dig all the way back to 2009 and our awesomely 80s California townhouse. Do you like that sweet chandelier? I loved that place; and this hutch has lived with us in four different homes in three states…so it was well worth the effort to transform it so it would work in this new space.
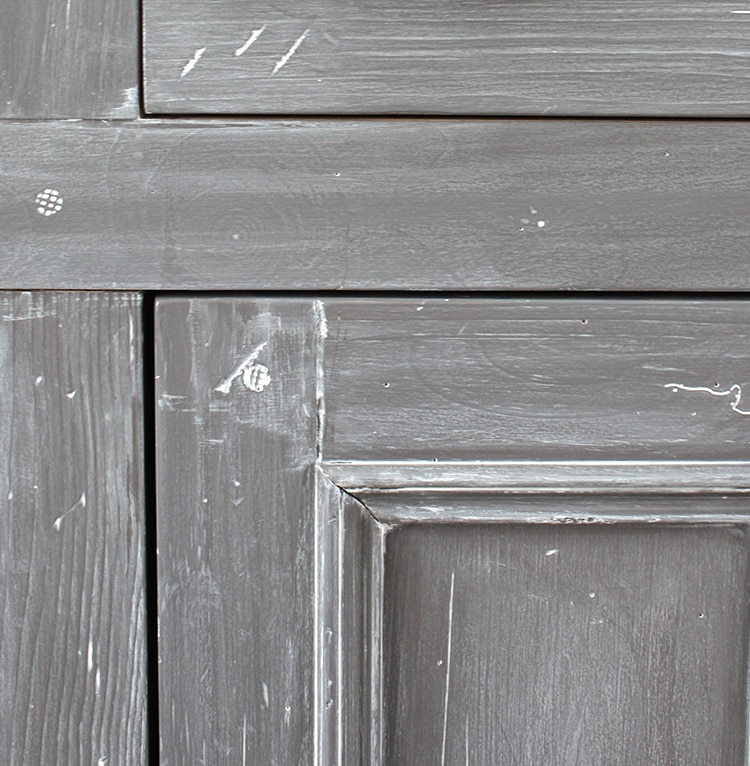
I started by removing all the knobs, detaching the hutch from the buffet; and then I gently pried the back off of the hutch. This piece has a really fantastic grain to it, and a lot of distressing that I wanted to highlight. I grabbed my favorite paint in this wonderful medium grey (Driftwood by General Finishes) and started painting.

For me, every successful painting project comes with at least one moment of sheer panic…where I’m just certain that I’ve ruined it and it can’t possibly be saved. After looking at the same piece for so many hours, that’s probably natural. I start to second guess my color choice, my ambition, and even my ability. I especially feel pressure when I’m working on a sentimental piece. But I persisted, and it turns out, I didn’t ruin it after all. Whew!
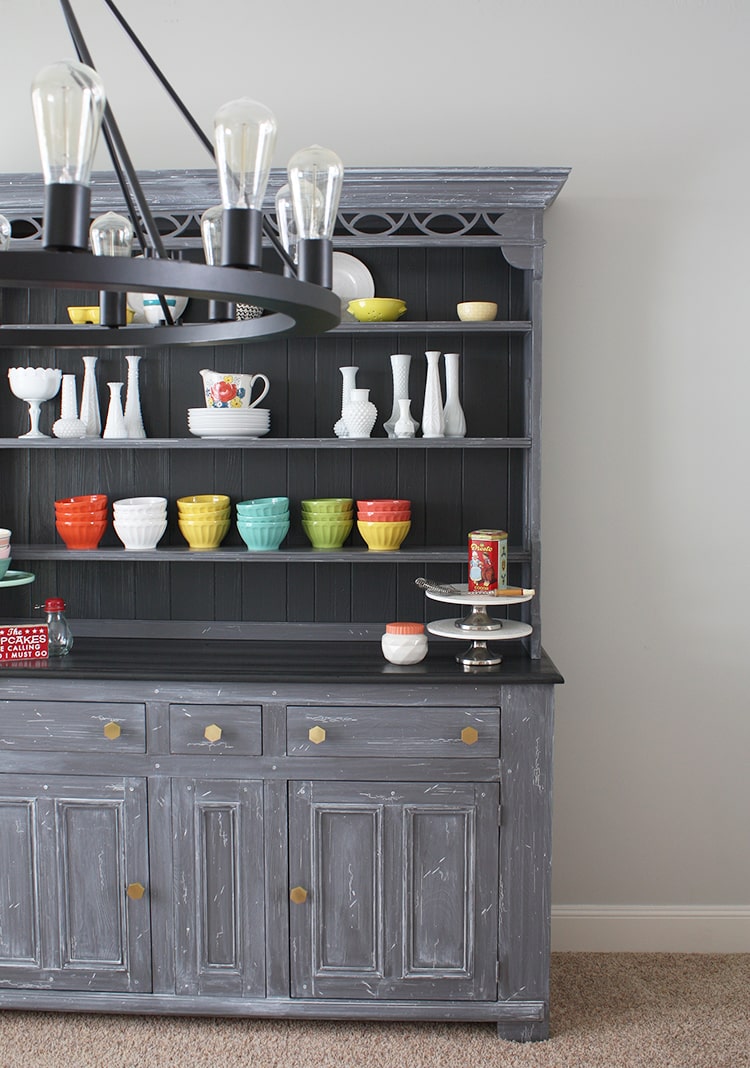
I actually used five different products on this piece (which seems like overkill) but it works since they’re all within the same range of color. The hutch and base are Driftwood with a Snow White glaze; the back of the hutch and top of the buffet are Queenstown Gray; and then I did a Pitch Black glaze on the buffet top to bring out the detail. Finally, I coated the whole thing with General Finishes High Performance Top Coat in Flat. I highly recommend using those cheap foam brushes when working with this type of paint. It minimizes brush strokes; and covers quickly. Then use a regular paintbrush to spread the glaze and you’ll need to have a lot of old rags handy to wipe it off.
It was a lot of work, but I’m so happy I made the effort. It would have cost us several thousand dollars (or more) to buy a comparable hutch; and this makeover cost about $200, including the new hardware. I’m so glad I didn’t give up when I felt like I’d ruined everything.
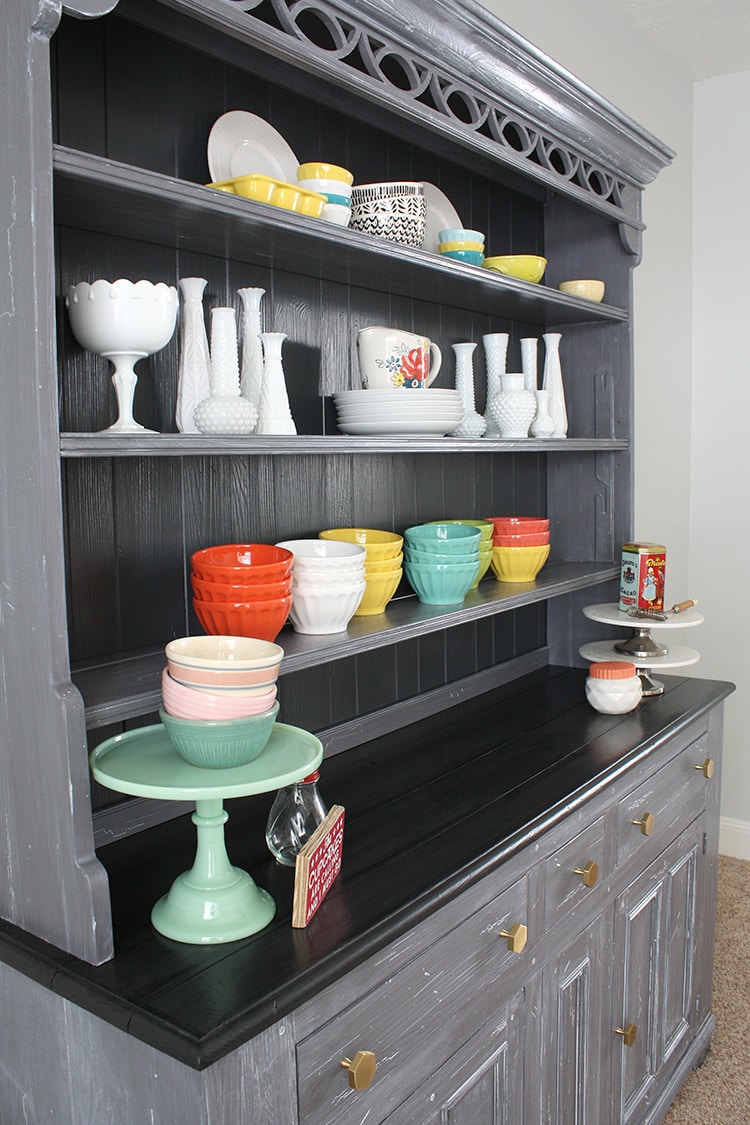
I finished off the project with these great hex knobs from Schoolhouse Electric. Now I just have four more chairs to paint and my dining room is done. I’ll be back soon with the whole room reveal!