Hey Friends! Recently, I teamed up with The Land of Nod and Paper Source (it’s like my wildest dream come true! EEP!!!) to bring you some fun Mother’s Day craft projects. The first project in the series is over at Honest to Nod today…it’s a fantastic tabletop herb garden. It is great for moms and grandmas who love to cook; OR who love to garden; OR who love to entertain. It’s a triple whammy. So take a look at the tutorial and you’ll be all set for a weekend of crafting!
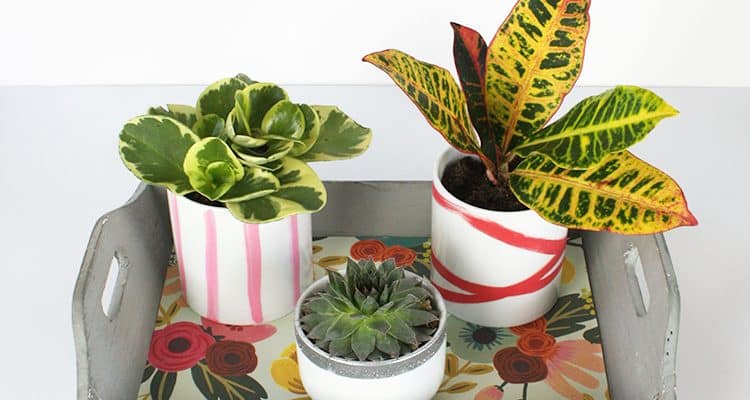
Herb Garden CenterpieceIf you remember in yesterday’s post, I showed you how to make these fun painted ceramic pots. But did you notice the cute tray they’re sitting on? I made it. Wait. I didn’t actually fashion the tray out of wood; so I guess claiming that I “made” it is a bit of a stretch. I guess you could just say that I improved it.
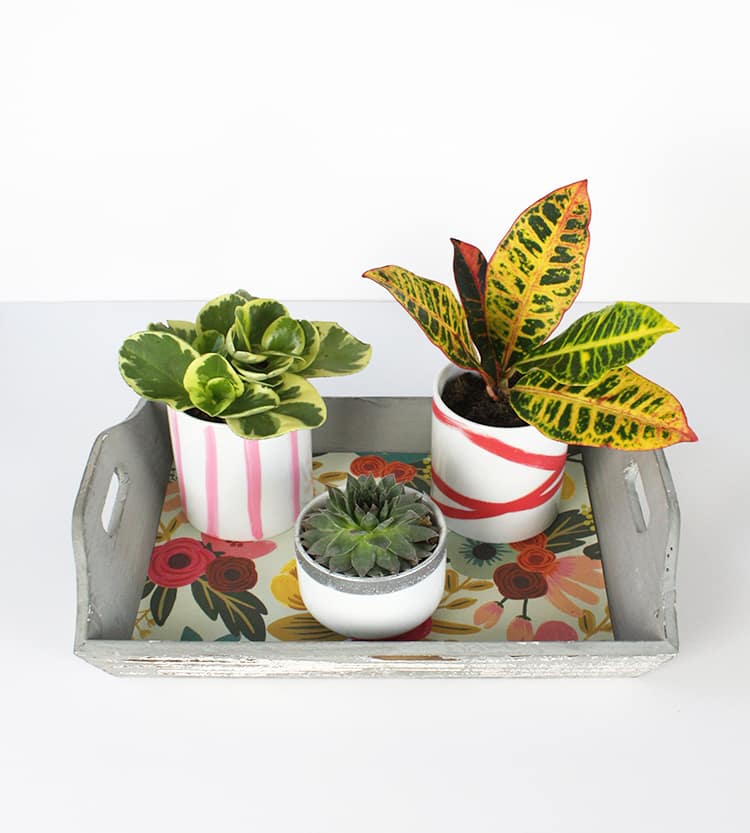
Anyway, I think this lined tray is a spectacular way to deliver your Mother’s Day gifts. Breakfast in bed is one of my favorite traditions of the whole year. Make it super special by serving it on a cute tray. Or bake up some cookies for Grandma and deliver it on a fancy tray. She can keep the tray and use it as a letter tray; or put it on the bathroom counter to hold makeup and perfume bottles. It would also look fantastic on a coffee table to corral loose bits or pretty candles. Such a simple project with so many uses. That’s the best kind of project.
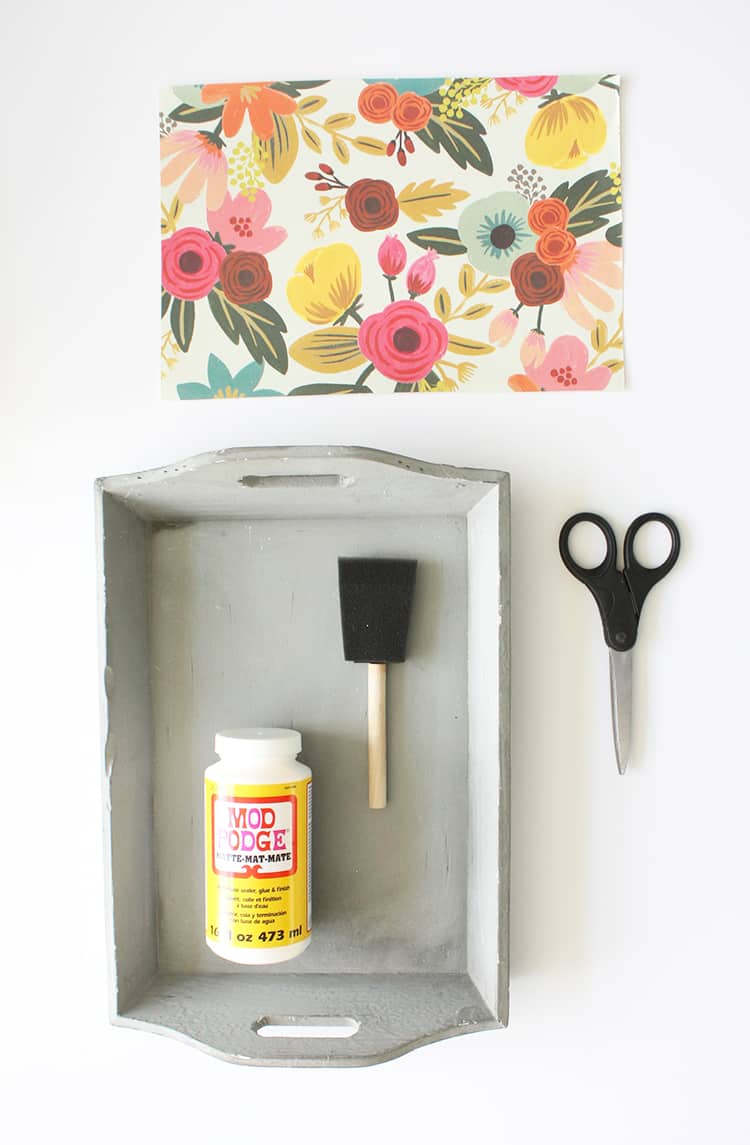
So let’s get to making! Here’s what you’ll need:
- Tray (I found this one locally at Tai Pan Trading). Target, World Market, Pier 1, and thrift shops are also great resources for trays.
- Mod Podge
- Foam Brush
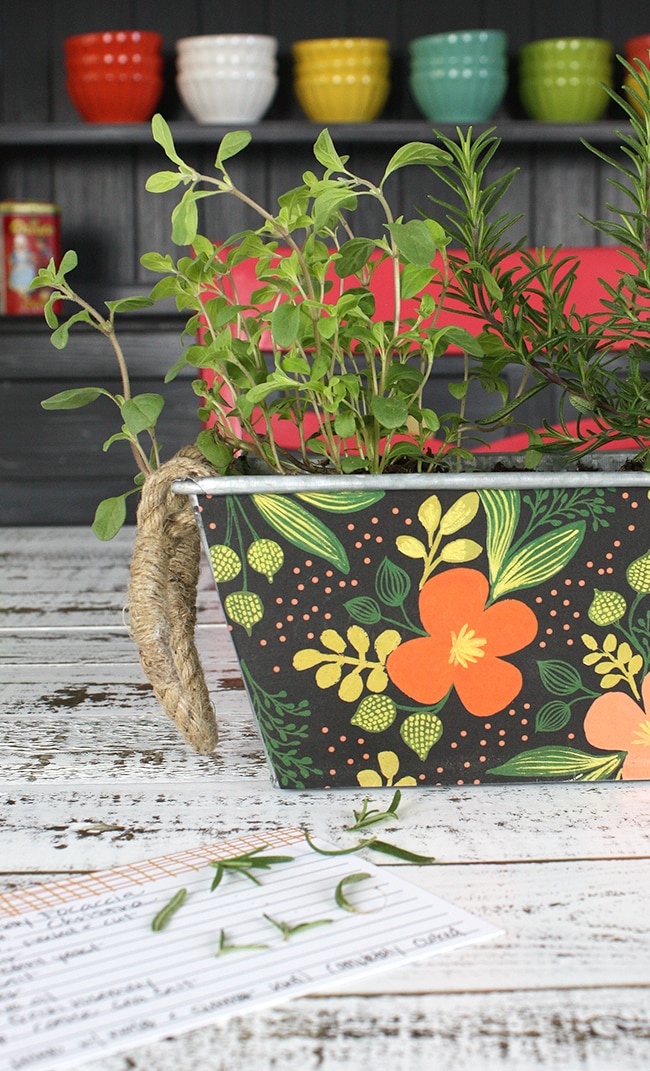
- Pretty Paper: This is my VERY favorite paper in the whole world. It’s one of those gorgeous wrapping paper sheets from Paper Source, by Rifle Paper Co. It’s almost too pretty to use for wrapping gifts…so use it for something like this tray so you can look at it every single day.
- Scissors
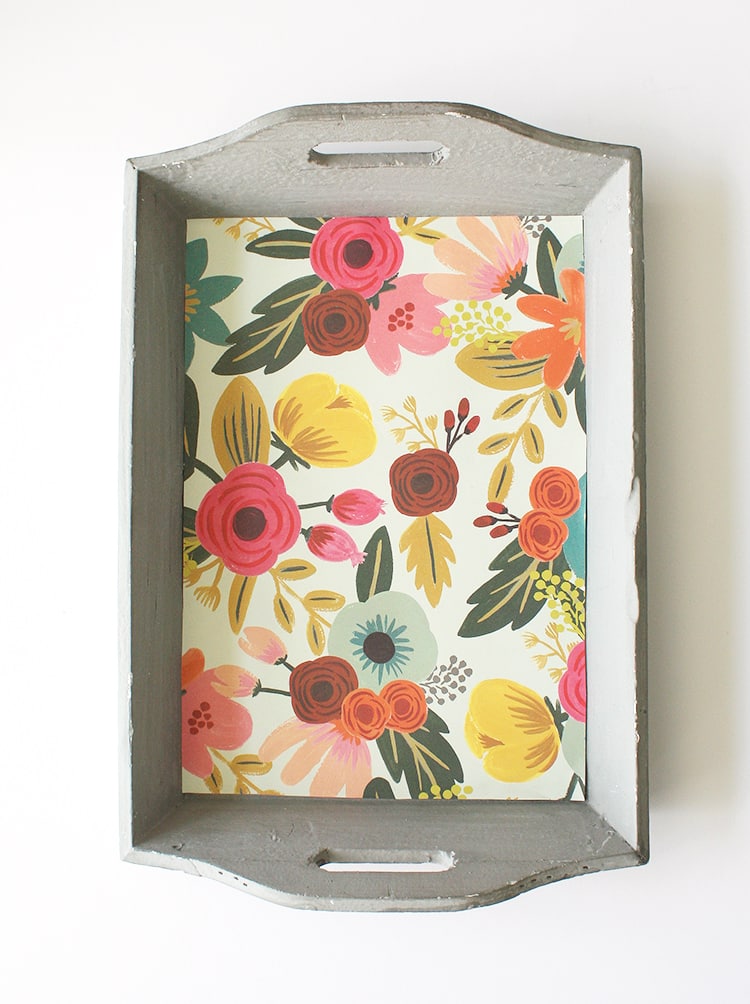
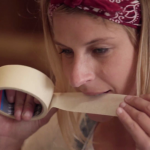
Just cut the paper to fit the inside of the tray. Then grab your foam brush and a blob of Mod Podge. Spread it around liberally on the surface of the tray. After you’ve got a layer of Mod Podge down, press the paper down. Work from the center, smoothing outward to work out any wrinkles or air bubbles as you go. After you’ve got it nice and smooth, add another layer of Mod Podge OVER the paper. This will seal it against dirt or spills. Let it dry and you’re good to go.
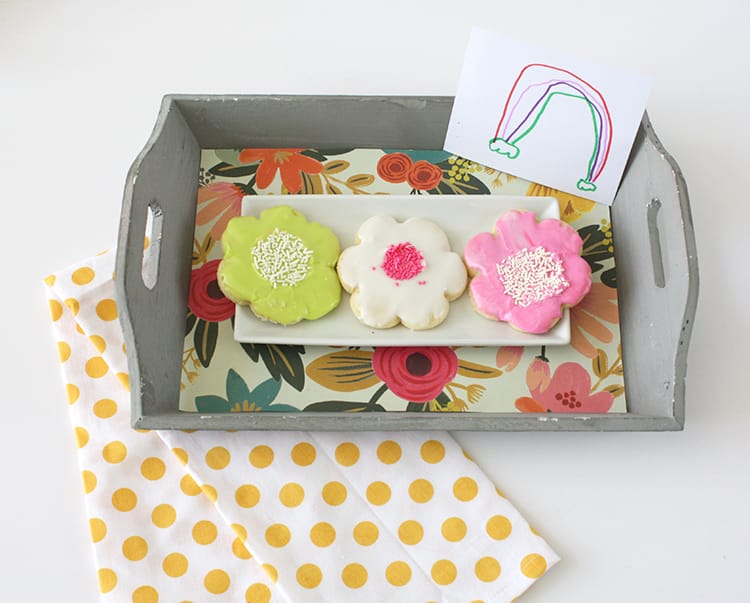
Now fill up the tray with some goodies for mom or grandma and get ready to make her day.
Happy Crafting, and Happy Weekend! (I’ll be back Monday with those fantastic glitter-dipped succulent planters I mentioned yesterday).