Spring gifting season is here!
Mother’s Day, Graduations, Teacher Appreciation, Bridal Showers…it’s all happening in the next month.
I’ve got a quick, inexpensive, and adorable project you can do to stay on top of all your gifting occasions this spring. Whip up a batch of these simple painted pots over a weekend and keep a stash so you’re always prepared. Or turn the kids loose painting pots for Grandma.
She’ll love it!
How to paint your own flower pots
First, a quick note. These flower pots are dishwasher safe, but it’s likely you won’t be ever throwing them in the dishwasher. If you want to make a design that you can mail to all of your friends, I really recommend using vinyl stickers instead. I have a really thorough guide on using DIY stickers & decals, so check it out and let me know which method you like better!
Second, a flower pot needs something a little out of the scope of this article: a happy little indoor plant! For that, check out our sister site Plantcarefully to pick out the right houseplant.
Okay, on to the tutorial!
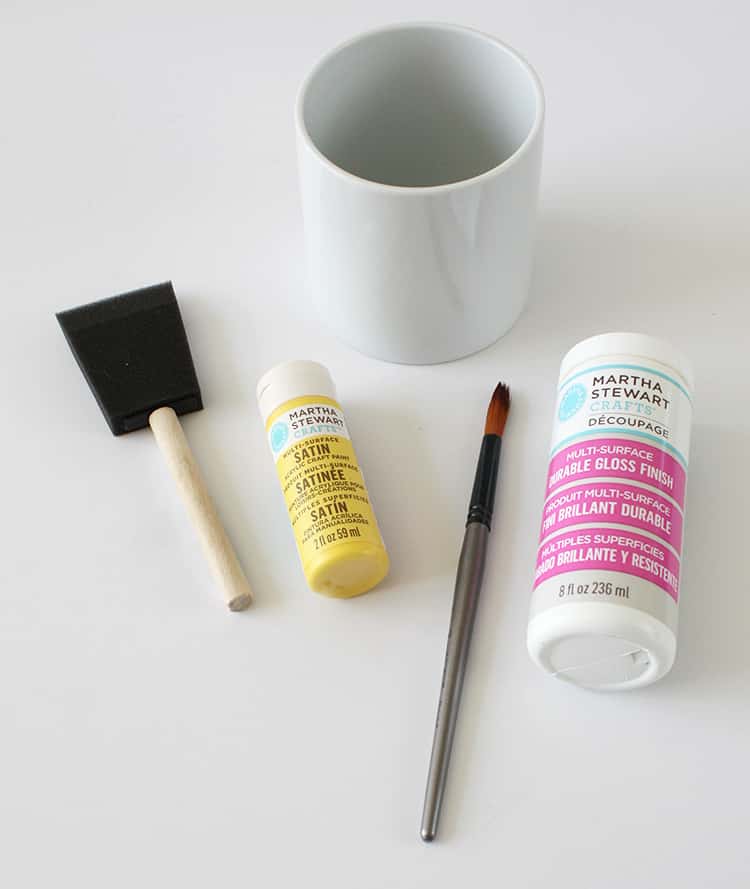
Here’s what you’ll need:
- Ceramic Container (I stock up on plain white ceramic containers at restaurant supply stores, Target, World Market, etc.). This pot came from my local favorite Tai Pan Trading. I got two of them for $1.99!
- Foam Brush
- Paint Brush
- Craft Paint (I really love the line of Martha Stewart Paints. Great color choices and a really smooth, even finish, as opposed to other craft paints that have more of a chalky feel to them.
- Martha Stewart Decoupage definitely get the multi-surface durable gloss finish for this project. It’s top-rack dishwasher safe; and dries hard and crystal clear. (p.s. this isn’t a sponsored post…I just really like this stuff.)
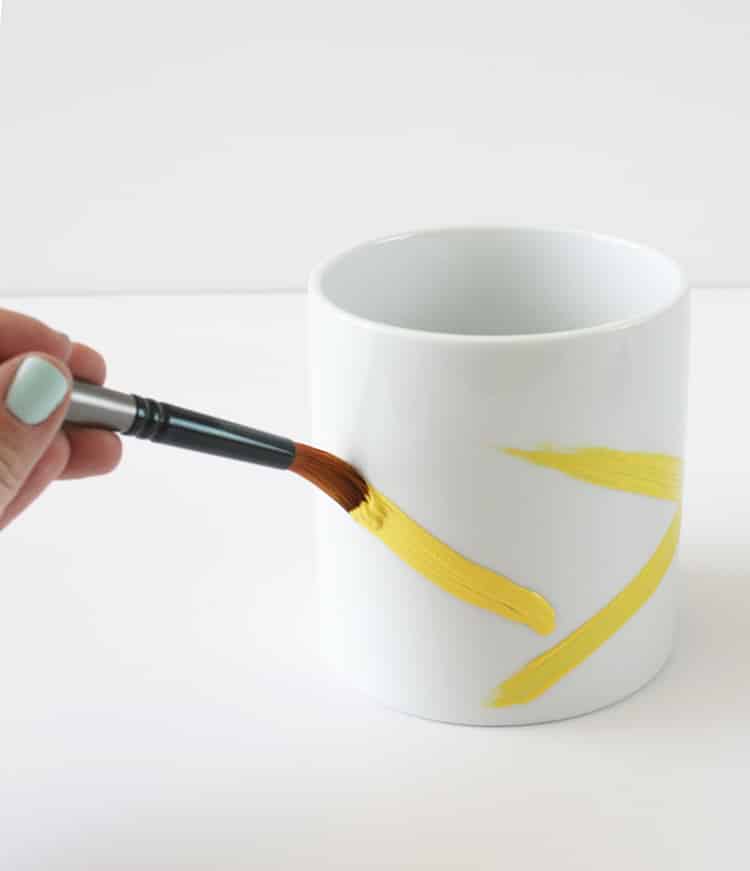
- Make sure your pot is clean and dry, then start painting. I like to freehand and see what happens. If you seriously mess-up, you can wash it right off, so just keep trying till you love it.
- Now let it dry (give it an hour or so).
- When it’s nice and dry, grab your foam brush and the decoupage. Apply a nice, even layer and let this one dry overnight. The decoupage technically takes 28 days to fully cure, but with a flower pot, I don’t think it’s too critical. If you’re making dishes you’ll actually be serving/eating from, then definitely give it the full 28 days. But since flower pots just kind of sit there, I think we’re good taking a little shortcut.
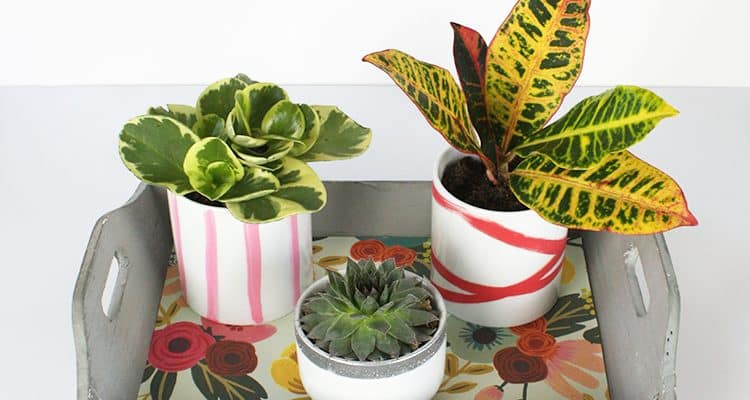
- Now grab a houseplant and put it in its place.
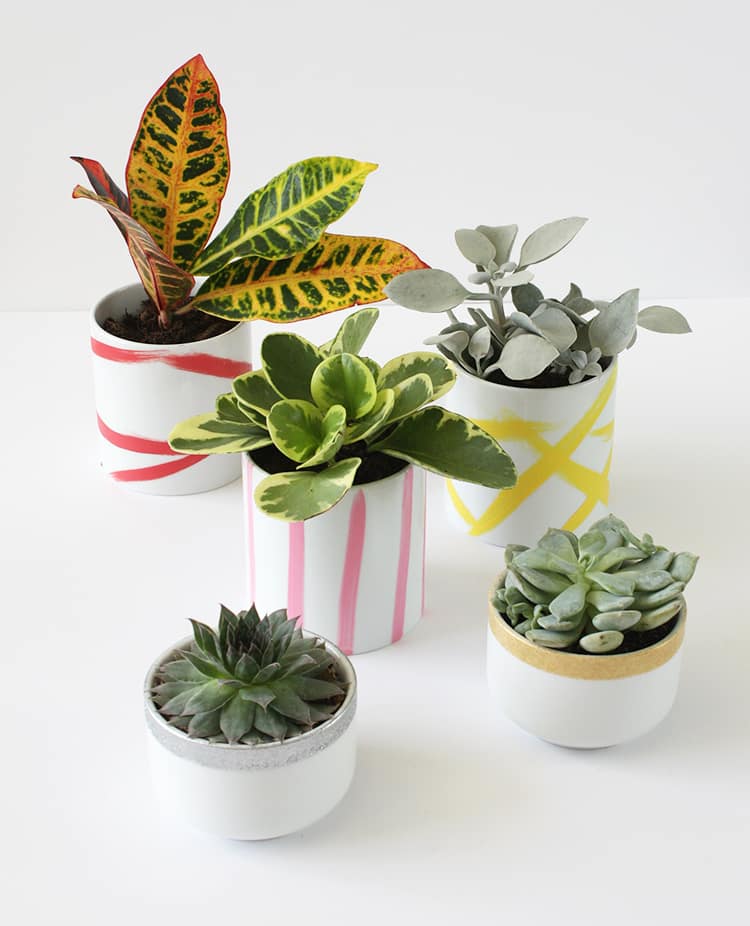
I have a grouping of these pretty little pots in my living room right now, and they’re so springy and happy. These make fantastic (and inexpensive!) gifts for Mother’s Day or teacher appreciation day. Plus, when the plants meet their untimely demise (as they always do in my care) the pots make cute pencil cups.