The weather outside is frightful, (for real – it’s a mess out there today) but anytime is a good time for ice cream, right? I’m so excited to join some of my favorite bloggers for another #swapthatdiy exchange. This time with Christmas ornaments. We each made an ornament and then were assigned a blogger to send it to. (I’ll put all their info below, so you can check out all the ornaments in the exchange). I sent mine to Gwen of The Bold Abode…hopefully she gets it today. And I got an adorable brushstroke ornament from Laurel.
It’s perfect and I love it!
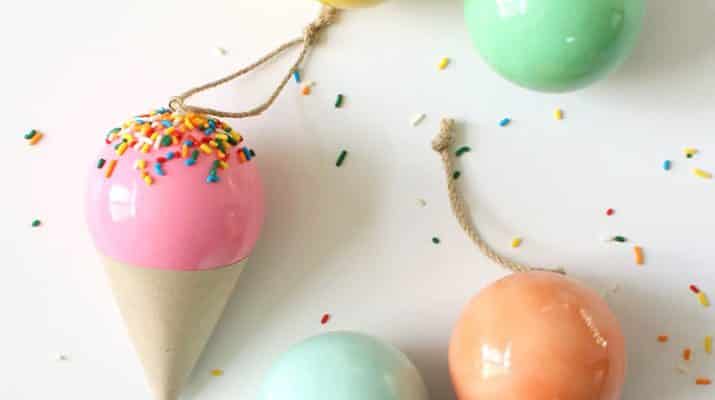
Here’s the DIY on these easy, non-melting ice cream ornaments.
I used these amazing colorful ornaments from the Land of Nod. (P.S. My friends at Nod were kind enough to send these ornaments over for this project, and they’re SO perfect for DIY projects. The ones I used are not available anymore, as they are now part of Create & Barrel but you can find similar ones at that link).
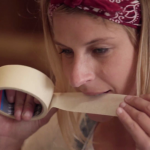
Any solid color ornament will work. Make a cone shape out of kraft paper. (I’ve provided a printable template here). It’s a semi-circle; cut it out, twist it until it becomes a cone, tape the inside to hold it in place; then glue the flap down to the outside. Once the cone is finished; glue the ornament to the cone. I used a thin bead of super glue along the edge of the cone. It worked like a charm.
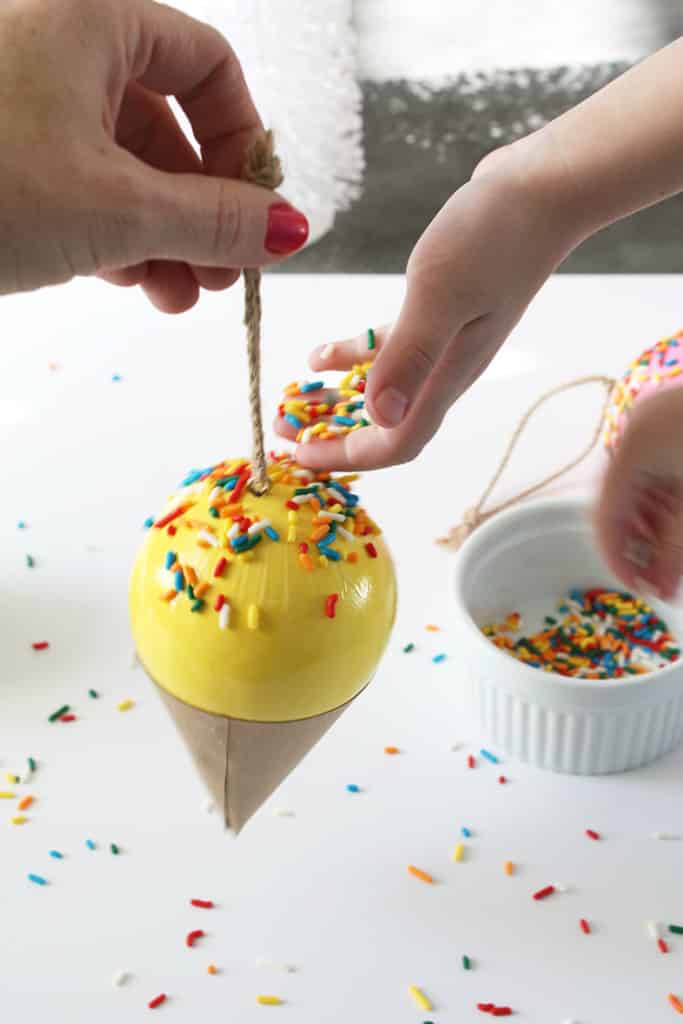
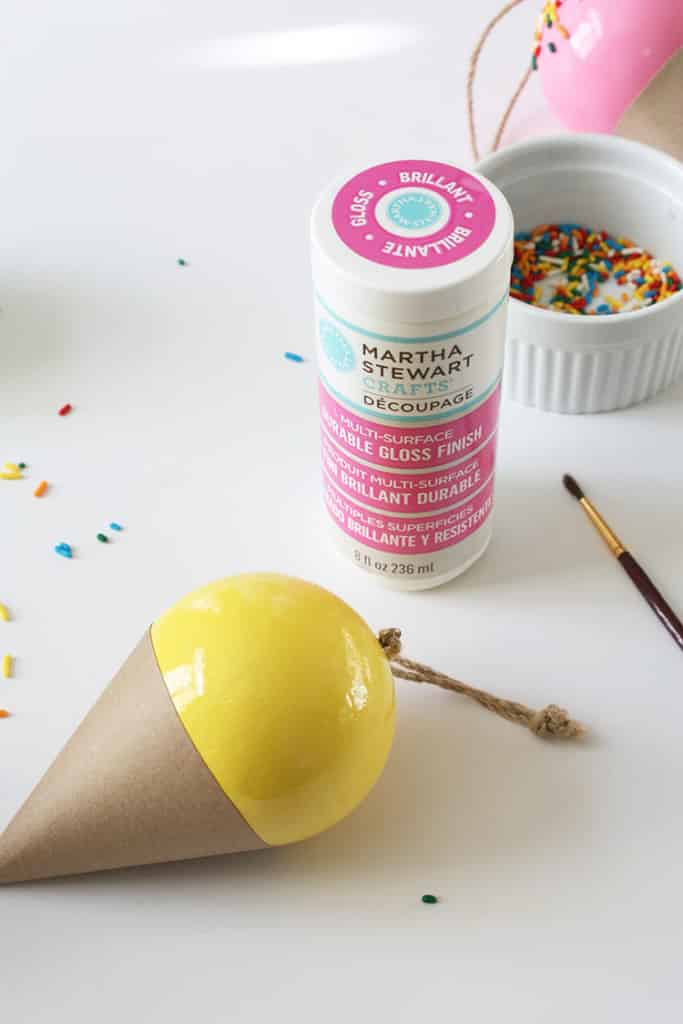
After the cone is glued to the ornament; brush a thin layer of glue (I like Martha Stewart’s Decoupage; but Mod Podge would be a really good choice, too.) Then grab your favorite sprinkles and a cute helper. Hold the ornament vertically as your helper disperses the sprinkles. Once the sprinkles are sufficiently sprinkled; hang the ornament overnight to dry. An optional step at this point is to do another thin layer of decoupage glue over the top of the sprinkles to seal them in. (If you do this step, give it another 24 hours to dry).