Hi guys! I have a fun little project for you from National Idea Swap Day and I was invited to join in the fun. (Thanks ladies!)
So the challenge today was to make a DIY desk accessory for under $20. Then everyone can share their ideas on their own blog and send our project to another blogger as an exchange. I sent mine to Machelle of A Joyful Riot!
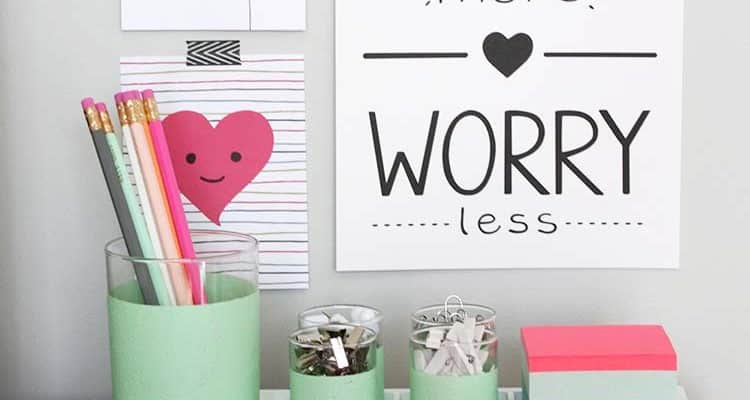
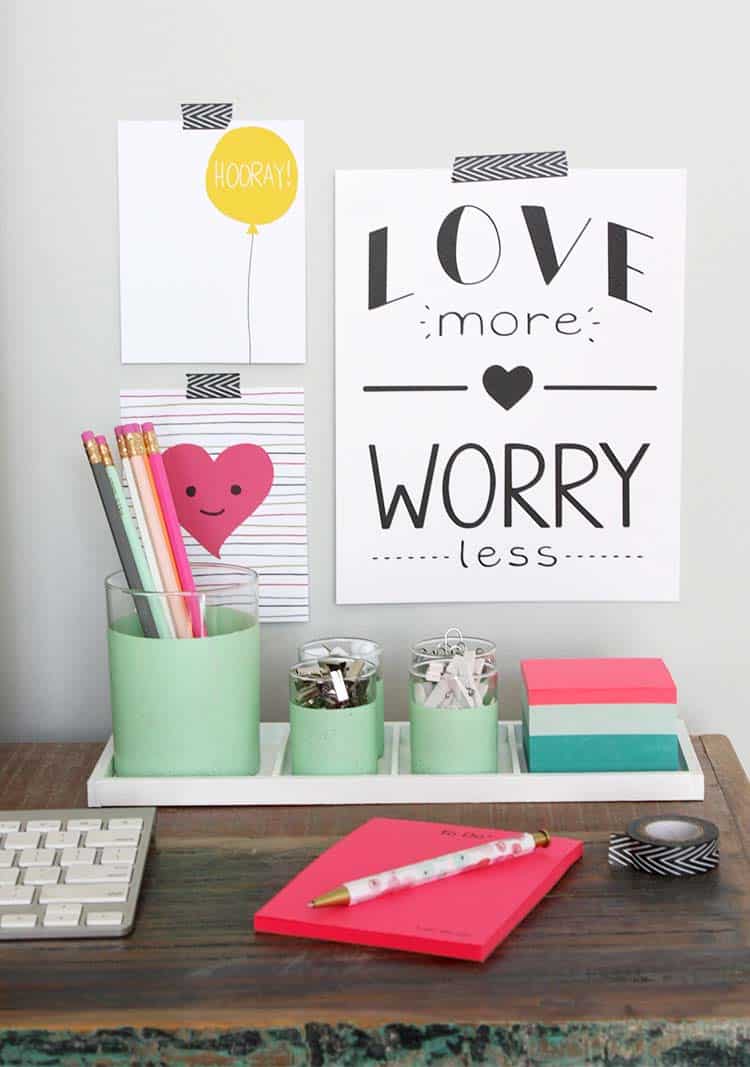
In this post I’m going to explain how to make your own DIY desk caddy. Basically, it’s a little accessory to hold all the bits and bobbles that are hard to contain.
Making your own desk caddy

I knew I wanted something narrow that doesn’t get in the way. I decided to start this project with a set of shot glasses and one larger glass from World Market, painted them up a bit and then built a little tray for them. Here’s how I did it.
You’ll need these supplies:
- Some shot glasses (I grabbed mine from World Market)
- Martha Stewart chalkboard paint
- Craft sponging brush
- Washi tape
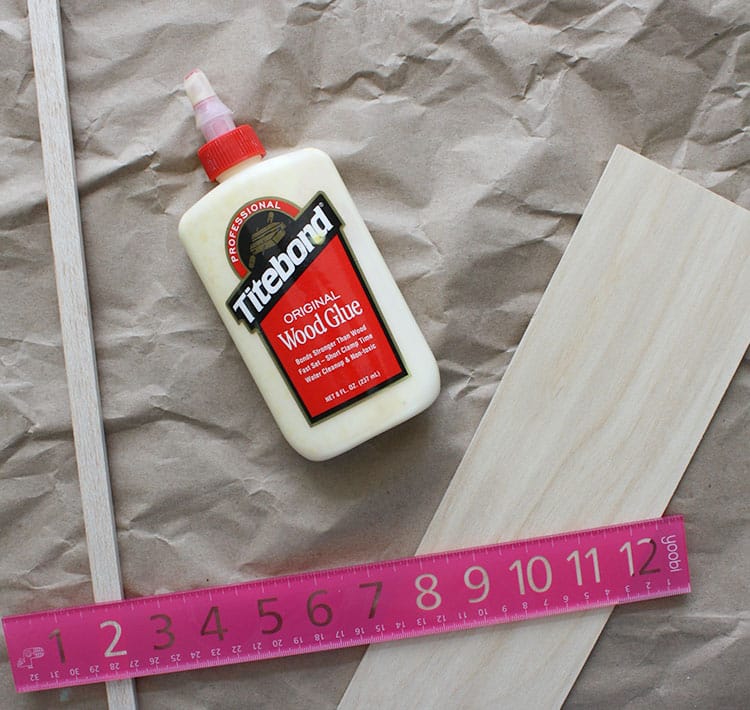
- Craft wood (mine is from Michael’s)
- A thin piece of plywood around 12″ x 4″
- Longer pieces of balsa wood for the sides
- A cutting machine (optional)
If you need to, you can cut the wood to size at home, I used a Cricut Maker, but it’s easier to just get them pre-cut in the right sizes.
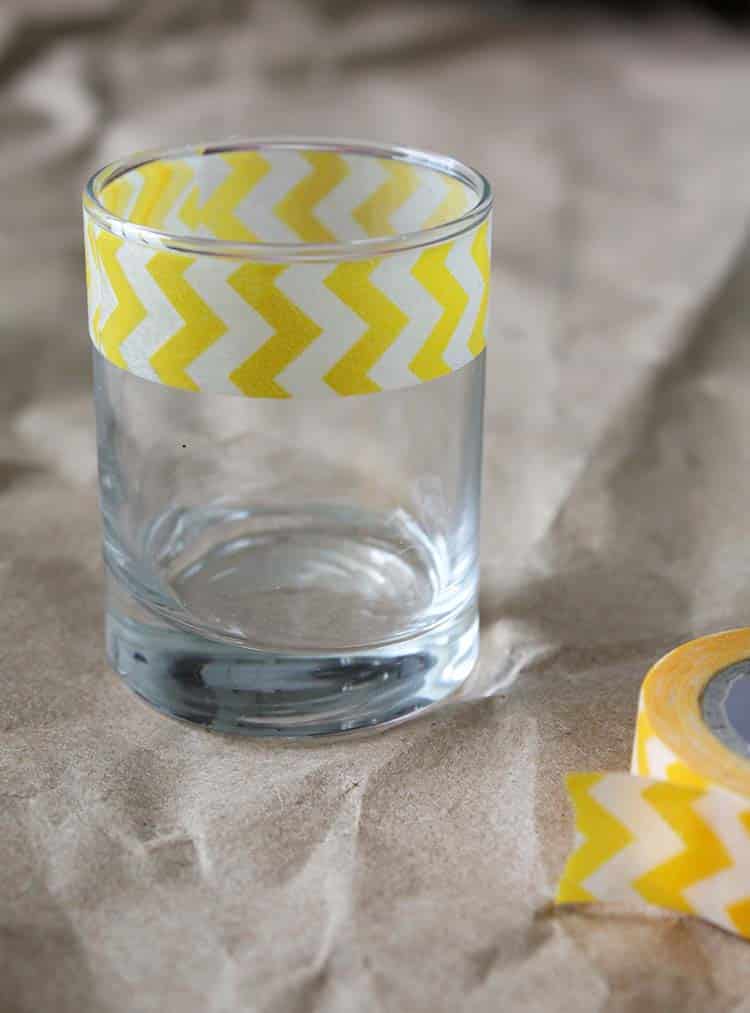
First, tape off all of your glasses. I used the rim of the glass as my guide; and for the larger glass, I used two rows of washi tape. I also really liked these glasses because the sides are completely vertical, which makes it easier to tape a straight line.
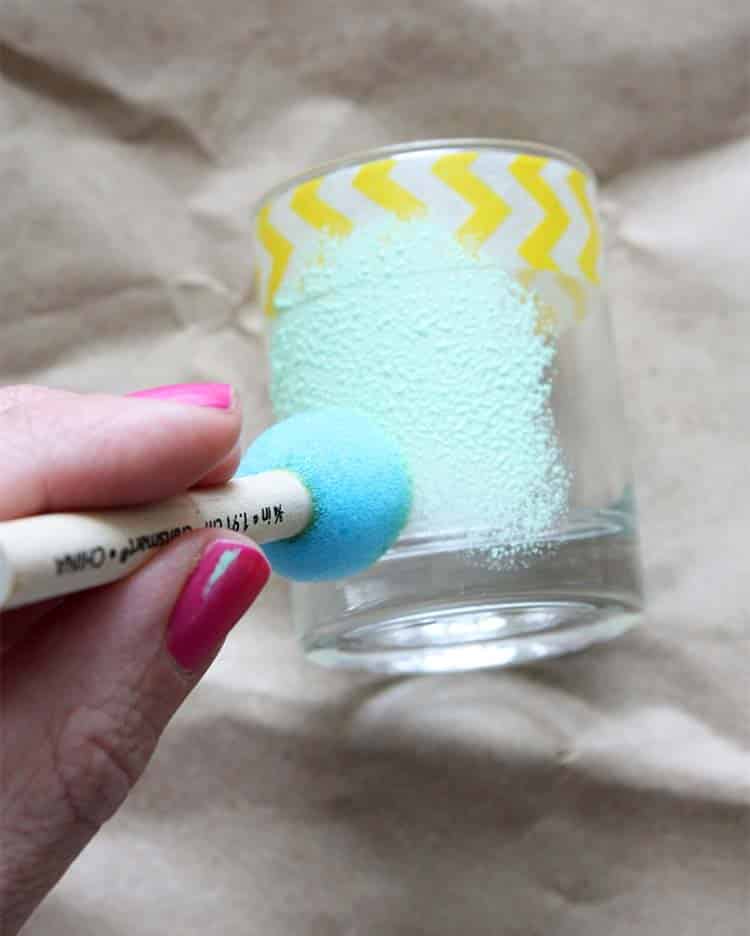
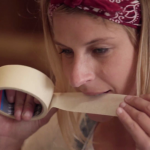
Next, just start sponging the paint onto the glass. Bonus points for getting paint all over your hands and for pretending to be left-handed while you take a photo. Just keep sponging until it’s covered.
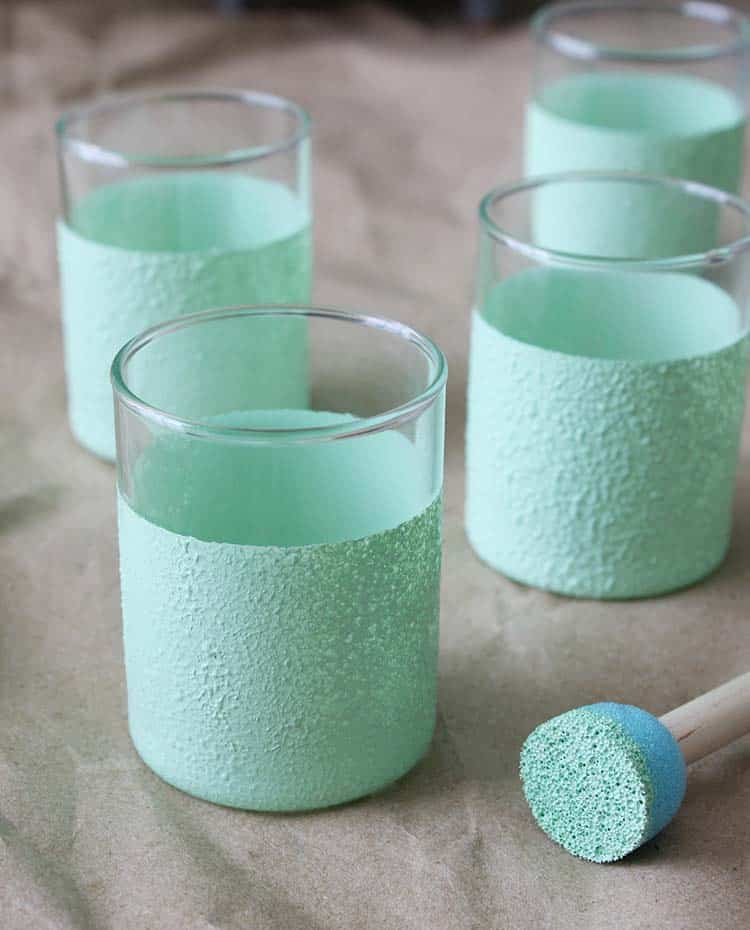
Keep going until all the glasses are painted. Now remove the tape and let them dry. While they dry, you can make the base.
Using a utility knife, cut two pieces of the balsa strip for the sides. This stuff is super soft and easy to cut. It also sands really easily if you have any rough spots. Now glue it onto the base with some wood glue. Repeat these steps for the ends.
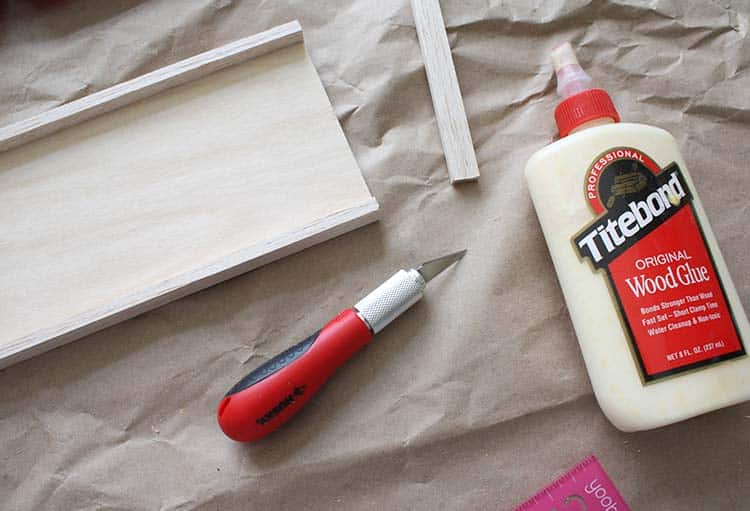
After you have the ends glued, make some little dividers: I used a super-thin piece of balsa for this and spaced them so the compartments would fit the larger glass, then two sets of shot glasses, and a post-it pad. Glue them into place, and when the glue is dry, give the whole thing a nice coat of paint. Quick tip: If you don’t have time for the wood glue to dry, super glue works great, too!
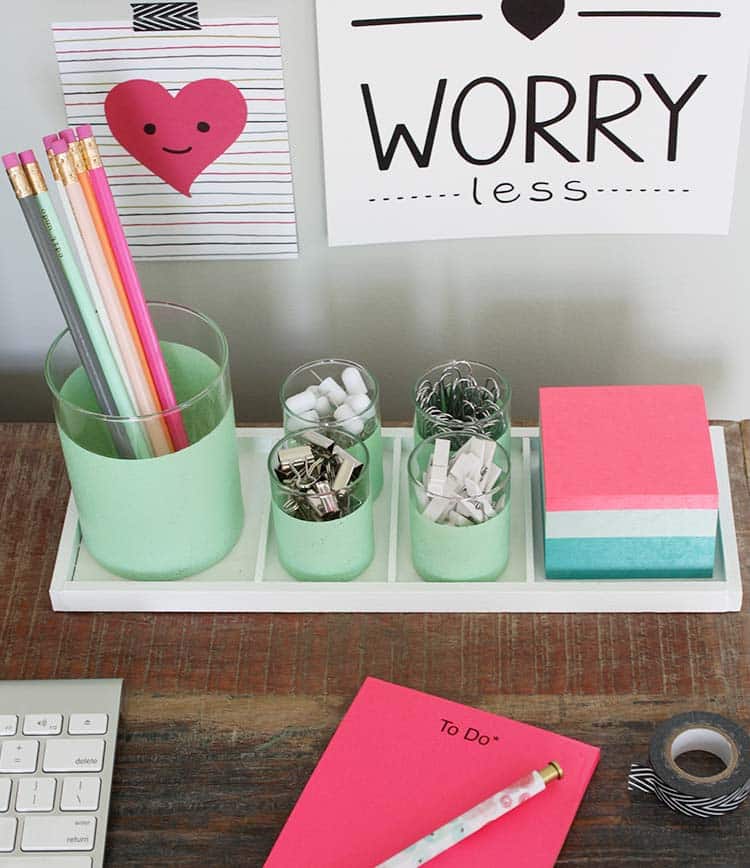
Now load up all your favorite supplies and get to work!
Thanks for letting me join in the fun, everyone!