What is a die cutting machine, anyway?
Well… this happens to be my favorite subject so I’m going to tell you all about them, what you can make with them, and why they’re so popular all of a sudden.
I’ll give you a bird’s eye view to begin and then go into their specific applications. At the end of this post, I’ll link 6 easy tutorials that will teach you how to make some awesome projects at home.
Table of Contents
What is Die Cutting?
Die cutting is any process where you use a machine to mass produce a single cut-out shape. This lets you cut out multiple cuts of the same design, repeatedly, without using a stencil or scissors.
Not only does it save time but die cutting ensures a consistent, high-quality cut and finished product, making wedding invitations and other important crafts accessible and fun at home.
Due to the growth of sticker making, scrapbooking and crafting we’ve seen a lot of change in the past twenty years.
Die cutting machines used to be just large industrial devices that were expensive, slow, and difficult to use.
Recent technological innovations have brought both the cost and size down, making it affordable to have a die cutting machine of your own at home.
Home machines have changed a lot recently too.
Models that used to only cut paper have been updated, now able to reliably cut vinyl, felt, and even metal. They’ve gone from being heavy and unwieldy to portable and sleek, like a desktop printer.
If you’re looking to buy a machine, check out our guide on the best die cutting machines!
What is a Die Cutting Machine?
A die cutting machine cuts designs out of a variety of different styles of material: paper, fabric, adhesive sheets, magnets.
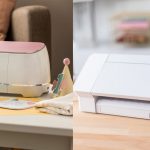
Typically they’re the size of a printer and function pretty similarly: where a printer deposits ink the die cutting machine cuts through the material.


The major difference between machines is whether they are manual or digital. I’ll explore the common features/differences and how die cutting works for each.
First, a quick summary:
- Cutting Force: Manual die cutting machines tend to have a stronger cutting force, making them ideal for cutting thicker materials like leather, chipboard, or even thin metals. Digital cutting machines, on the other hand, usually have a more limited cutting force, which may not be suitable for heavy-duty projects.
- Size and Portability: Manual machines are often bulkier and heavier than digital machines. If you need a portable option for crafting on the go, a digital die cutter machine may be a better choice.
- Design Flexibility: Digital machines offer greater design flexibility, as they can cut any design you create or find online. Manual machines, however, require physical dies for each design, which can limit your creative options.
- Embossing and Engraving: Some manual die cutting machines can also emboss and engrave, providing additional creative possibilities. Most digital machines do not have this capability.
- Learning Curve: Digital die cutting machines typically have a steeper learning curve due to their software requirements, while manual machines can be easier to use for beginners.
Manual die cutting machines
How does manual die cutting work?
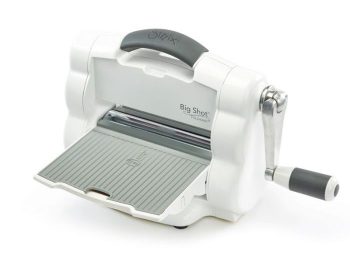
Manual die cutting machines are typically hand-cranked and do not require power to work.
They function like a cookie cutter where you have a metal shape that’s sharp on one end. This “cookie cutter” die is pressed into your material at a high, even pressure, making them capable of cutting through a huge variety of material.
Just like a cookie cutter slices through the dough, a die cutting machine can slice through paper, felt, magnetic adhesives, or vinyl. Some of the newer manual machines are electric and have a motor to power the crank.
Popular models include the Sizzix Big Shot, the Spellbinders Platinum, Cricut Cuttlebug, or the Docrafts Xcut.
Advantages
Manual cutting machines tend to be a bit cheaper and more powerful, cutting through a larger variety of material than their digital counterparts.
They’re also great for embossing, which most of the digital machines actually can’t do.
Disadvantages
Manual machines are often hand-cranked and heavier. The biggest drawback is they require a physical die for any design we want to cut.
Imagine a desktop printer where you could only print out material you had a metal imprint of. While they are cheaper to purchase initially, the cost of manual dies and shapes does add up.
Digital die cutting machines
How does digital die cutting work?
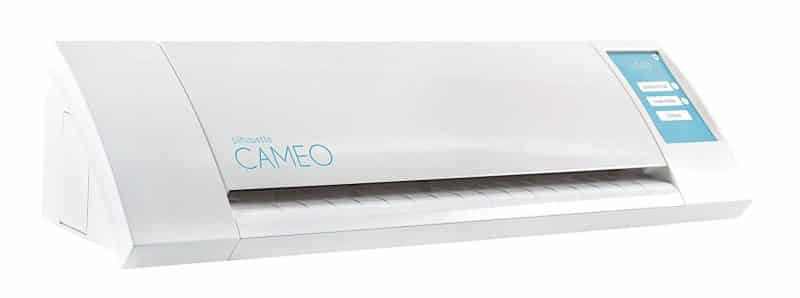
Because they can control where the cutting blade cuts a material they do not require a manual die.
Not only do they function similar to a printer, they have a similar design and footprint. You can download designs for digital die cut machines online or purchase memory cartridges which are loaded into the machine.
Digital die cutters either connect to your computer through USB or wirelessly through Bluetooth.
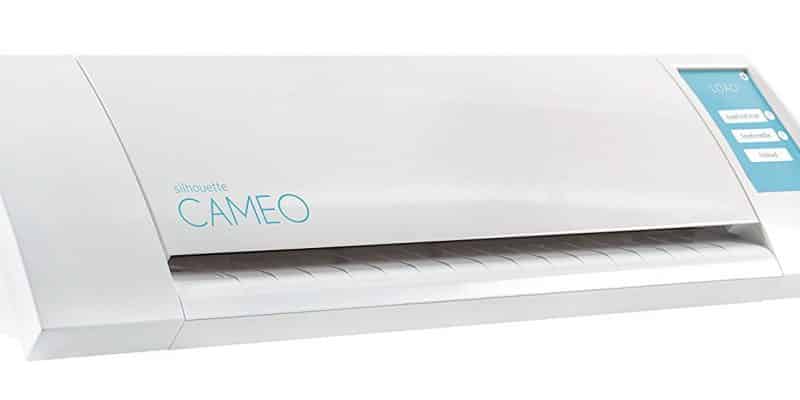
Popular models include: the Silhouette Cameo 3, the Brother Scan N Cut, or the Cricut Explore Air 2.
Advantages
Digital machines print anything we dream up and design. If you can make or find an image, you can cut it.
Free designs (with detailed instructions) can often be found online and the machines are typically light-weight and compact. Some models such as the Silhouette Cameo 3 can directly scan in designs to be cut.
(If you’re looking for examples, check out my free SVG file collection for Cricut & Silhouette)
Disadvantages
Digital die cutters are a bit more expensive, running from $150 and up. Most digital die cutters only work with a computer and require specialized software which can be difficult to use.
What are die cut stickers?
Basically these are really, really nice looking stickers that are cut to the same shape as your die shapes. They look really polished and professional, making them better for business or event usage than those we’d typically use for home decor or hobby.
Adhesive die cuts can be made with either a manual die cutter or digital die cutter at home. You’ll need adhesive-backed vinyl or adhesive sticker paper and a design you want to turn into a sticker.
Load the design into your die cutting machine’s software and let the machine work its magic. In a few minutes you’ll have a sheet of perfectly cut stickers that look like they were made by a professional.
Tips for using die cutting machines
No matter the die cutting machine you’re using, we’ve put together all of our experience as paper crafters, experience with a lot of different computer software, and even an embossing folder or too.
- Choose the right machine for your needs: Before purchasing a die cutting machine, consider the type of projects you plan to work on, your budget, and the features that are most important to you. If you’re looking for a machine that can cut a wide variety of materials and offers embossing capabilities, a manual machine might be your best choice. If you prefer a lightweight, portable machine with design flexibility, a digital die cutting machine could be a better fit.
- Invest in quality materials: High-quality materials will make a significant difference in the final outcome of your projects. Invest in good quality paper, cardstock, vinyl, and other materials to ensure your die cuts look professional and last longer.
- Keep your cutting mats clean: Cutting mats can become dirty and lose their stickiness over time. To extend the life of your cutting mats, clean them regularly with a scraper and a gentle adhesive remover.
- Test cut settings: Before cutting your final project, perform a test cut on a scrap piece of the material you’ll be using. This will help you determine the optimal settings for your die cutting machine and avoid ruining your materials.
- Keep your blades sharp: A dull blade can result in uneven cuts and damaged materials. Be sure to replace your blades regularly, and always have a spare on hand.
- Organize your dies and designs: If you have a manual die cutting machine, invest in a storage solution for your physical dies. For digital machines, create a system for organizing your digital designs, so you can easily find what you’re looking for when inspiration strikes.
- Explore online resources: There are countless online resources available to help you learn new techniques and find inspiration for your die cutting projects. Browse forums, blogs, social media groups, and video tutorials to discover new ideas and connect with fellow crafters.
- Take advantage of free design files: Many websites offer free design files for a digital die cutter, giving you a wide variety of options to choose from. Utilize these resources to expand your design library and try out new projects without breaking the bank. We have our own collection of free SVG files for Cricut, it can be helpful to just see what’s out there.
- Experiment with different materials: Don’t be afraid to try cutting different materials with your die cutting machine. You may be surprised at the unique and creative projects you can make with materials like fabric, leather, or even thin metal sheets.
- Keep your machine clean and well-maintained: Regularly clean and maintain your die cutting machine to ensure it continues to function efficiently and produce high-quality cuts. Check the manufacturer’s recommendations for cleaning and maintenance to keep your machine in tip-top shape.
Using embossing folders for added texture and dimension
Embossing folders are a fantastic addition to your die cutting toolbox, adding texture and dimension to your projects with ease. They work by creating raised patterns or designs on paper, cardstock, or thin materials, perfect for card making.
Getting started with embossing with die cutting machines:
- Choose the right embossing folder: Embossing folders come in a variety of designs, from intricate patterns to simple shapes and text. Select an embossing folder that complements your project and fits within the size of the material you plan to emboss.
- Prepare your material: Trim your paper or material to the desired size, ensuring it fits within the embossing folder. It’s essential to use a material that can withstand the pressure applied during the embossing process. Cardstock and heavyweight paper are ideal choices. Match your material to your purpose, you wouldn’t want to use something very light for card making.
- Place your material in the embossing folder: Open the embossing folder and position your material between the two sides, aligning it with the design. Close the folder, making sure the material is sandwiched securely inside.
- Run the embossing folder through your die cutting machine: Follow your die cutting machine’s instructions for using embossing folders, as each machine may have different requirements. Typically, you’ll place the embossing folder between the appropriate cutting plates or platforms and run it through the machine using the hand crank or motor.
- Reveal your embossed design: Carefully open the embossing folder and remove your material. You should now see the raised design on the surface of the material, adding a stunning textured effect to your project.
A few tips for successful embossing:
- Spritz your paper with water: Lightly misting your paper with water before placing it in the embossing folder can help the fibers in the paper stretch more easily, resulting in a crisper, more defined embossed design.
- Use the right pressure: Applying too much or too little pressure during the embossing process can affect the final result. Be sure to follow your die cutting machine’s guidelines for using embossing folders to achieve the best results.
- Experiment with different materials: While cardstock and heavyweight paper are popular choices for embossing, don’t be afraid to try other materials like vellum, thin metal sheets, or even fabric. Each material will yield a unique embossed effect.
- Incorporate color: Add visual interest to your embossed designs by applying ink or pigment to the raised areas. You can use a brayer, sponge, or even your fingers to gently apply color to the embossed surface.
By incorporating embossing folders into your crafting repertoire, you’ll unlock a world of creative possibilities. Experiment with different designs, materials, and techniques to achieve stunning textured effects that elevate your projects to the next level.
Happy embossing!
6 awesome tutorials
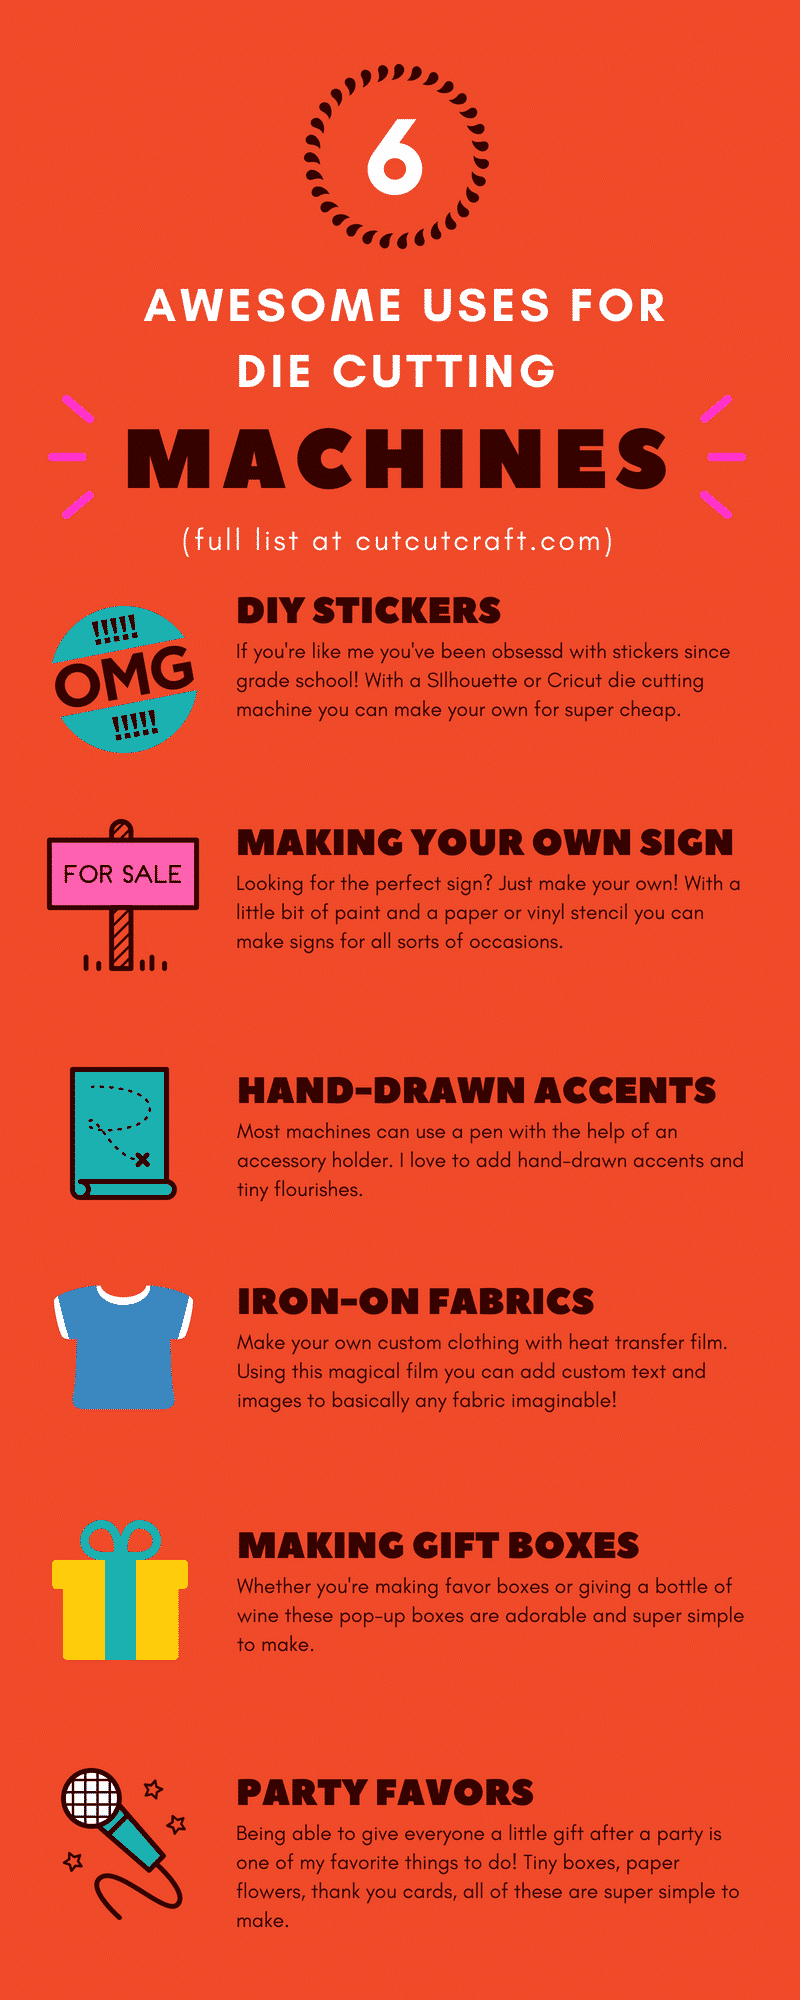
DIY Stickers
I have a great Cricut sticker tutorial that will teach you how to make stickers, decals, and wall graphics.
Hand-drawn accents
This super cute tutorial by Jen Goode will teach you how to make a hand-drawn little snowman with gift tags.
Iron-on fabrics
Make your own DIY shirts with this simple iron-on fabric Cricut tutorial.
Making gift boxes
Super easy tutorial on how to make your own gift box using Cricut Design Space.
Party favors
Make really pretty floral goodie bags with this cute tutorial from Cricut.
FAQ
What are steel rule dies?
Steel rule dies are a type of die used in die cutting machines, especially for cutting thicker materials or creating larger shapes. They consist of a steel rule blade embedded in a foam or rubber base, which helps to create a clean, precise cut. Steel rule dies are capable of cutting a wide variety of materials, including paper, cardstock, chipboard, fabric, leather, and even thin metals.
These dies are popular for their durability, versatility, and ability to create intricate designs. To use a steel rule die, simply place the material on your die cutting machine’s platform, position the die with the cutting edge facing down, and follow your machine’s guidelines for creating a sandwich with the appropriate cutting plates. Run the sandwich through the machine to cut your desired shape or design.
Is there a die cut sticker making machine?
Absolutely! Making stickers is super easy with both kinds of die cutting machines. You can either use regular cardstock with adhesives sheets applied to the back, purchase adhesive-backed cardstock and use that as your material.
If you want something a bit thinner, just head down to Jo-Ann Fabric and pick up some sticker sheet. They’re extremely easy to cut and it shouldn’t matter whether you have a Cricut, Silhouette, or a manual Sizzix.
How are steel dies used to die cut shapes?
These cutting dies are used to create die cut shapes from various materials such as paper, cardstock, fabric, and more. These dies are made from thin, flat sheets of steel that have been etched or laser-cut into specific shapes or designs. They have sharp edges which cut shapes when pressure is applied to the die.
What is a die cut sandwich?
In the context of die cutting, a sandwich refers to the layered arrangement of cutting plates, dies, embossing folders, and materials used in the die cutting process with a manual die cutter. The sandwich is created to ensure even pressure is applied across the material, resulting in clean, precise die cuts, or embossed designs.
The specific configuration of a sandwich may vary depending on the die cutting machine, the type of die (e.g., steel dies or thin metal dies), and whether you’re cutting or embossing. It’s essential to consult your manual die cutter machine’s instructions to create the appropriate sandwich for your project.
What can I use a die cutting machine for?
What all die cutting machines have in common is they’re highly capable of cutting paper. Others, depending on their specifications, cut through vinyl, fabrics, metals, magnetic adhesives, and felt.
If you let your imagination wander a bit, you’ll soon realize just how useful for crafting this can be. You can make your own pop-up cards, boxes, wedding invitations, scrapbooks, vinyl stickers, envelopes, or even book designs.
Silhouette or Cricut, which do you prefer?
I just wrote a full comparison of Cricut vs Silhouette. You can’t go wrong with either, but I prefer Silhouette’s software a lot!




Thank you for all of this information. Someone mentioned to me that they wanted to get some vinyl stickers made, so I thought I would look into it and I came upon your website describing everything. It is much appreciated. I’m going through all of this info now. 🙂