If you’re new around here, I do this thing on Friday called Friday Favorites; it’s a bunch of my favorite posts from my old blog. I’m bringing them over here so they can join the party.
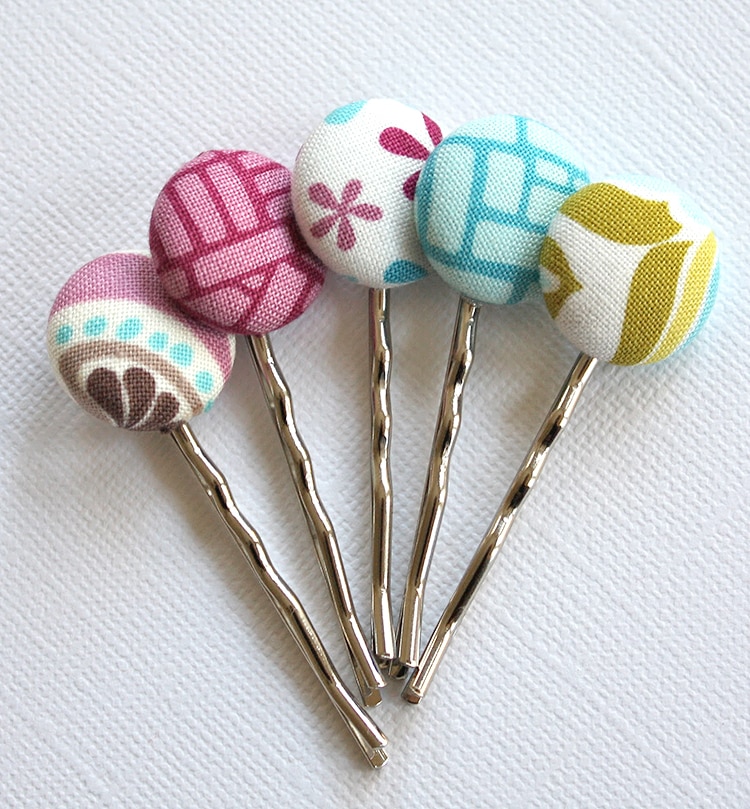
Today, I’ve got a flashback to these easy bobby pins. This project is a great way to use up some of those fabric scraps that are too cute to throw away.
Here’s what you’ll need:
- Bobby Pins with Glue Pads
- Covered Button Kit
- Gorilla Glue
- Chain-Nose Pliers
- Fabric
- Scissors
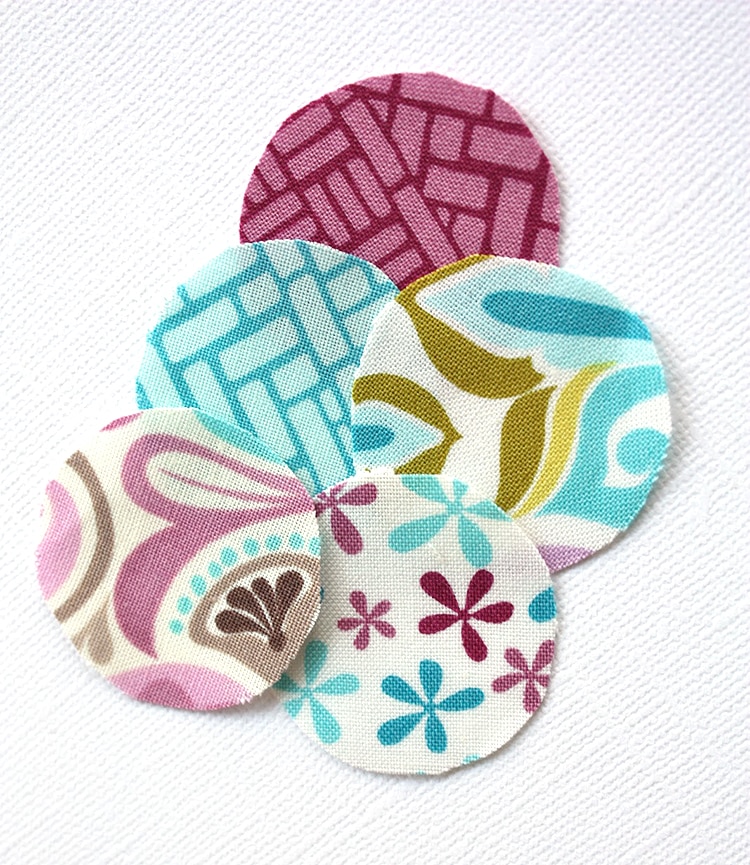
First, use the template on the back of the button package to trace and cut fabric circles to fit your buttons.
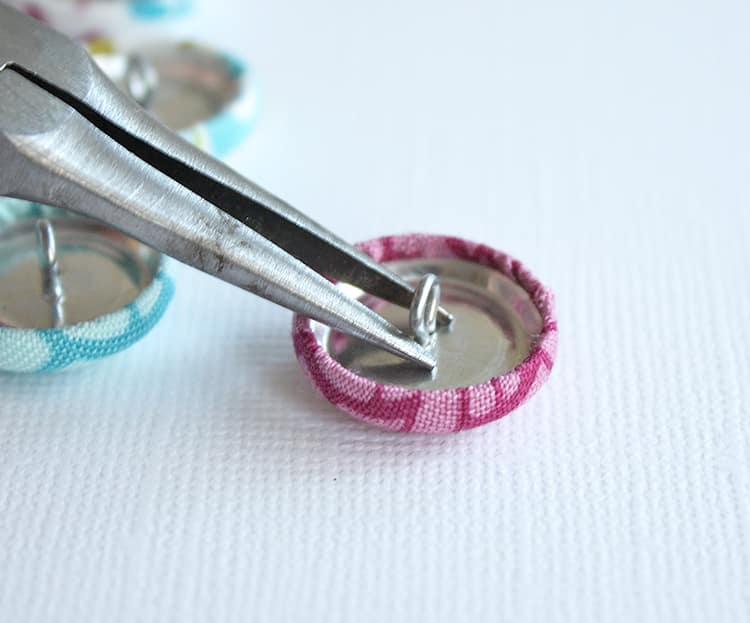
Next, follow the package directions to assemble the buttons. Now, remove the shanks with the pliers. This can take a bit of work. Just pinch the center together as tightly as you can and then wiggle until it will come out. It takes a couple of tries until you get the feel for it; but after that you can just pop those babies right out.

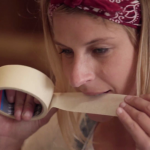
Now slightly moisten the back of the button and the top of the glue pad. Squeeze a tiny drop of gorilla glue and then smoosh them together. Note: This type of Gorilla Glue expands as it dries, so a tiny drop goes a long way.
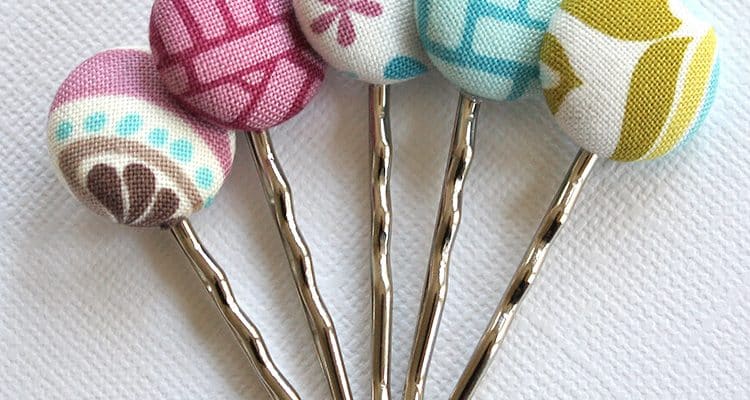
Just lay them flat and wait until they’re dry. Tada! Done.
This is a really fun project for cold spring days when you need an indoor activity. Once you buy a pack of the bobby pins, you’ll have plenty to go around…so host a crafting party, or make a bunch as party favors or quick gifts.