
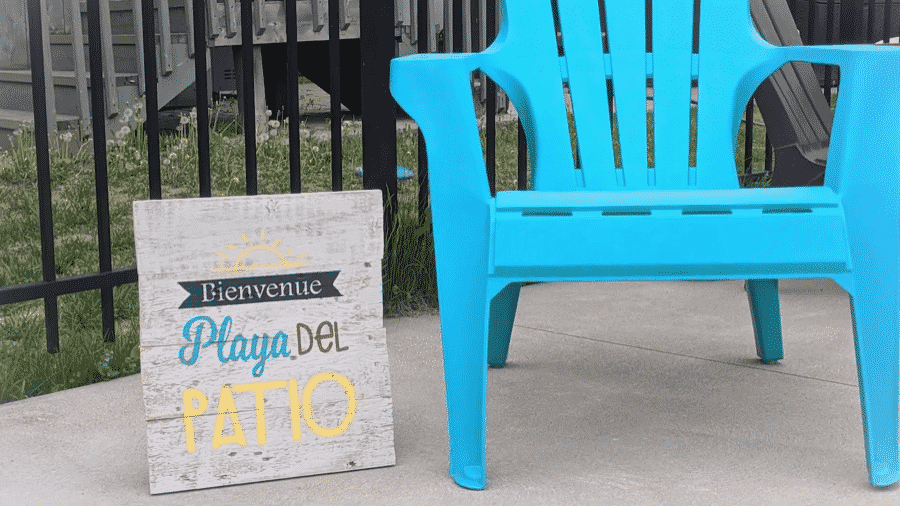
If you’re anything like me, you’ve envied really beautiful homes with cute wood signs on the wall.
So that got me wondering… could I make my own wood signs to hang up? If so, what would I use?
I’ve worked with vinyl a lot, so figured there might be some way to make a reusable stencil for stenciling on wood, and I’m here to say it works great!
So here it is, a quick tutorial on how to stencil on wood.
I’ll cover:
- tricks for getting letters on wood
- how to know if you should use acrylic paint or chalk paint
- and how to stencil on wood without bleeding, including on a stained wood surface.
(That last one is KEY!)
I’ll be using a Cricut in this tutorial, but if you don’t have one, I have a method that will work great for you too.
So whether you’re working on a wood sign or bringing life into some old wood furniture, I’ll teach you a great technique for getting a neat result with your stencil every time. That’s right, no worrying about paint bleeding!
Table of Contents
Why use a stencil on wood?
I have a good friend, Christina. She’s the most talented crafter I know and a very talented painter. I’ve been at her house countless times and her art and cute little wood signs always impress me.
I know that she has impeccable handwriting, and her painting ability is no different, so I kind of always assumed she made her signs freehand.
Nope! Even Christina uses stencils! So why?
(If you’re interested in learning how to apply vinyl to wood instead of using a stencil, check out that tutorial instead.)
She wants her lettering to look as good as it possibly can. She can choose a font, lay it out, and then get that exact look right where she wants it. It’s not limited to lettering on wood either, any small designs or accents you want to paint on wood with stencils are going to look a lot better too.
By laying out your design beforehand, you can visualize exactly how it will look on the sign before painting it. You can try out different colors or types of paint, change the font up, and resize it as much as you need.
PLUS: with a vinyl stencil, it’s reusable. Any cute designs you make that a friend might want you can easily recreate, and if you have small designs/accents that you use, you can reuse those for other projects in the future.
(This is especially good for wood sign stencils.)
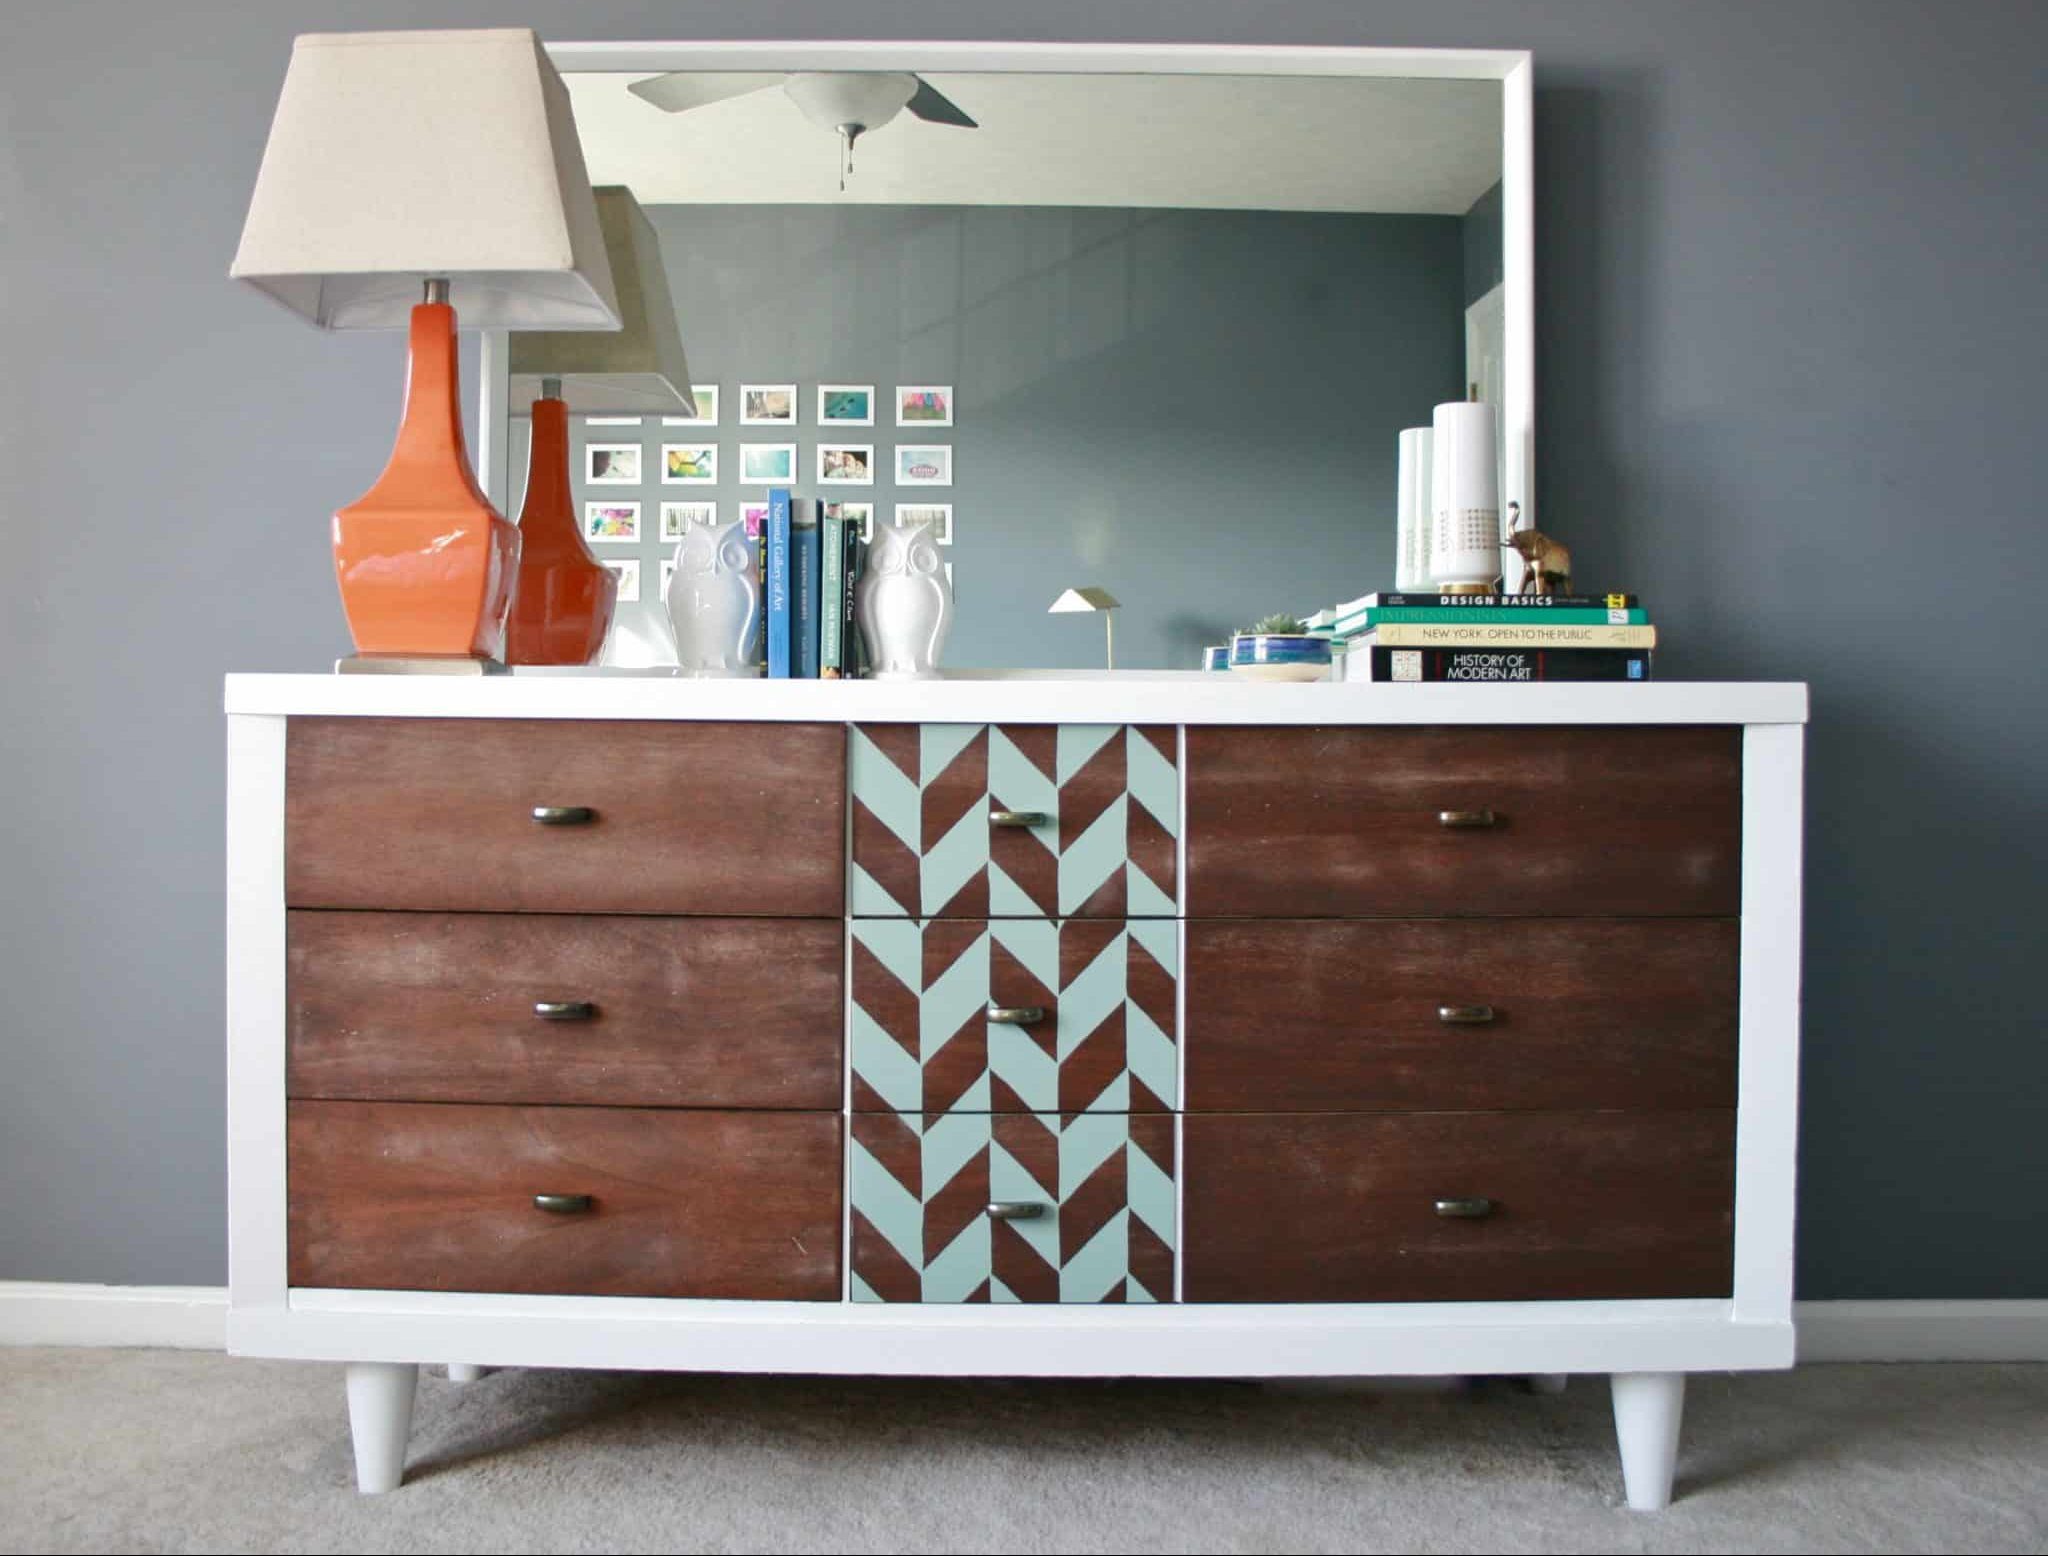
Stencils really shine when it comes to applying a pattern. You can take old dressers and make them into beautiful works of art, and it’s super easy for kids to pick up too.
Some other benefits:
- You can get more use out of old wood furniture. A lot of people focus on wood signs, but stencils are actually really great for using on all sorts of furniture that might need a touchup.
- It’s super easy to do and doesn’t require a lot of crafting experience. Even if you’ve never crafted before, you can make a wood sign super easily.
- You can turn old pictures into wooden signs. There’s a neat trick and I’ll show you how at the end.
- With cut vinyl stencils, we can make reusable designs and artwork. This means you can incorporate parts of one design into another, layer them, or even repeat them as a pattern.
- I have a technique that actually works to stop paint from bleeding at the edges of your design.
(This tutorial assumes you’re making your own design, but if you already have a wood stencil that you’ve purchased, you can skip the first few steps and skip right ahead to how to stencil onto wood.)
So whether or not you have your design ready, feel free to follow along with this tutorial and learn about how to stencil on wood signs with paint!
How to stencil on wood: painting on wood signs
This tutorial is going to cover how to make stencils for painting on wood, but also the right kind of paint to use (whether it’s acrylic paint, chalk paint, or a few others I love), and then how to apply that paint to the wood surface.
To prepare, you’re going to want to gather all of the correct supplies, but honestly, I usually read through a tutorial first. But when you’re ready to get started, laying everything out in one place makes things easier.
As I mentioned above, if you’re missing a few things, don’t worry, because reading through the tutorial will probably help you decide which choices to make with picking out your paint and wood.
After this tutorial we’ll cover both of those topics in-depth, too, so feel free to skip ahead.
Supplies:
- Something wood (could be pallet wood, a wood sign, scrap wood, or furniture like a painted dresser)
- Sandpaper (150 grit sandpaper)
- Paint.
- Mod Podge (we’re going to use this to keep our paint from bleeding)
- Sponges, stencil brushes, or foam brush. A regular paintbrush can work too but isn’t ideal. If you’ve ever seen those tiny edging foam brushes they sell for $1 at hardware stores, those actually work great.
- Weeding tool (if you don’t have one, tweezers are a good substitution)
- Vinyl. I recommend a removable vinyl, like Oracal 631, but any vinyl will work with some modification. We compare all the different vinyl for cutting machines in this article.
- Transfer tape. Optional. If you have a complex design and want it to all stay together as you transfer it, you’ll need it though
- Painters tape. Optional. If you’re using a removable stencil vinyl, you’ll notice that it gets less sticky over time and you’ll have to apply the edges down with painter’s tape.
- Cutting machine (like a Cricut or Silhouette.) If you don’t have a vinyl cutter, you can cut the stencils out by hand. I’ll show you how in a video below.
- Spray adhesive
- A design in mind
In this tutorial, I’m using a Cricut Maker and their Design Space software to lay out and cut my stencil. If you have a different machine, you can follow along and the process will be basically identical with Silhouette Studio or a hand-cut design.
Okay, let’s get into how to stencil on wood!
Step 1 — Prepare the wood
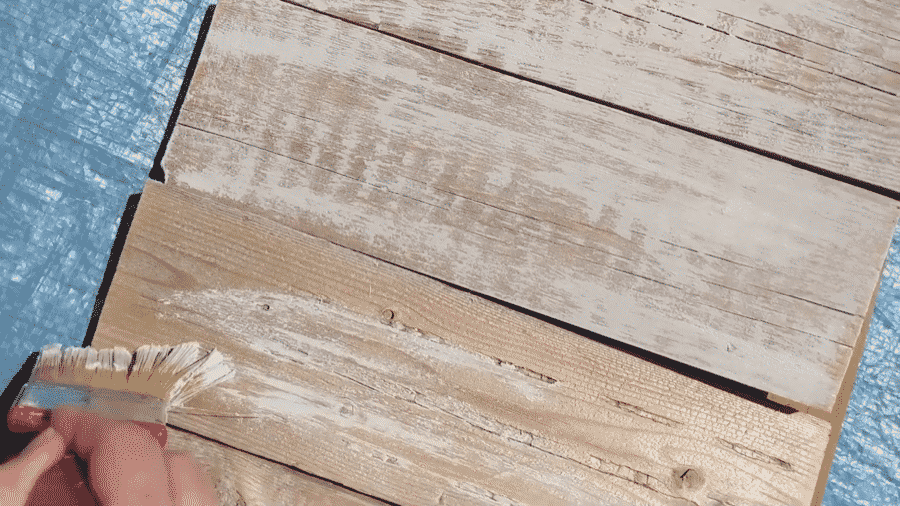
If you’re working with a really rough wood or something like pallet wood, sanding will either take a bit too long or ruin the rustic finish. I like to use a wood filler for the really bad areas, just apply a small amount and brush it over the surface.
This is not only going to help the stencil adhere, but it’ll keep paint from bleeding around the edges of your design, this way you have a much crisper look.
Step 2 — Prepare your design
First, you’re going to want to have an idea of what to make. The nice thing about stenciling is that you can always lay it out, decide you don’t like something, and then modify the stencil, so don’t worry too much yet about getting everything just perfect.
If you need a design, I have a whole collection of free SVG resources for you to look through. Just pick something out there, or start with some simple lettering.
You should have by now a rough idea of how large of a design or wood you’ll be working with, so make sure to lay out that shape, and apply the design on top of it.
With stencil letters on wood, I’d definitely avoid serifed fonts (the fonts with the fine accents/designs around the edges) or thin, cursive letters until I was a bit more experienced. They can be difficult to weed, and when you have a very fine or thin design, it can sometimes be harder to stencil.
Not that it can’t be done, but it could make lettering wood signs a bit tricker than you want for a first attempt.
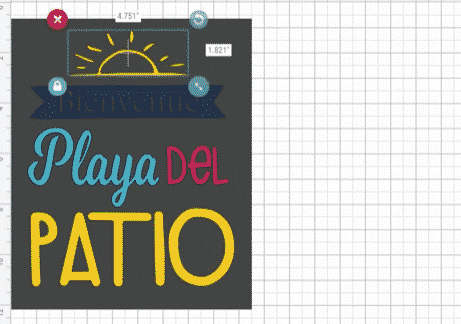
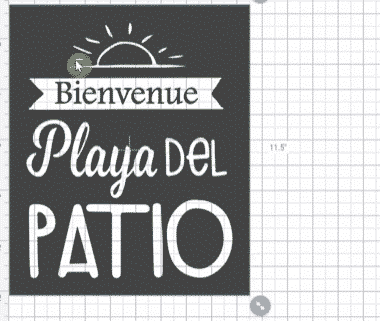
If you’re using a Cricut with Design Space, here are the steps to follow:
Load your images into Design Space
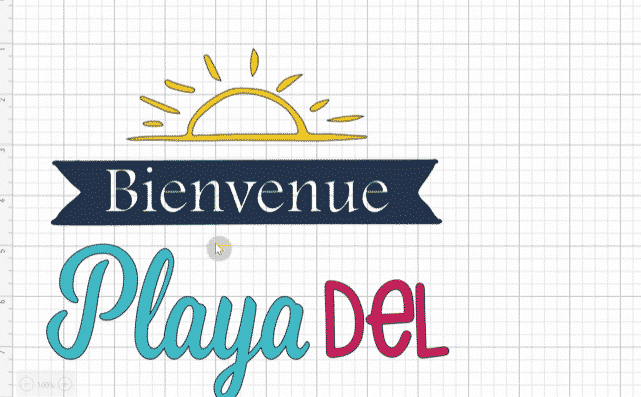
Create a rectangle that’s roughly the size of the wood surface you’re placing your stencil on.
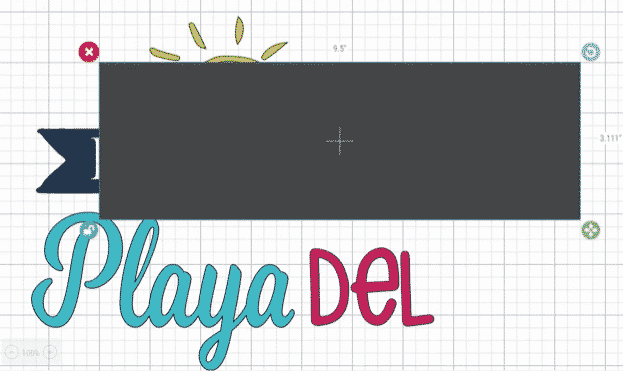
Lay out your cuts on top of that rectangle to line everything up and make sure it’s sized properly.
Remove those cuts from the rectangle, leaving you with the stencil.
Step 3 — Cut the design
Load your vinyl on to a standard cutting mat, with the backing-side down.
Select the material you’re working with, make sure you’re using a the standard cutting blade (the Premium Fine-Point blade), and then cut that material.
Step 4 — Weed the design
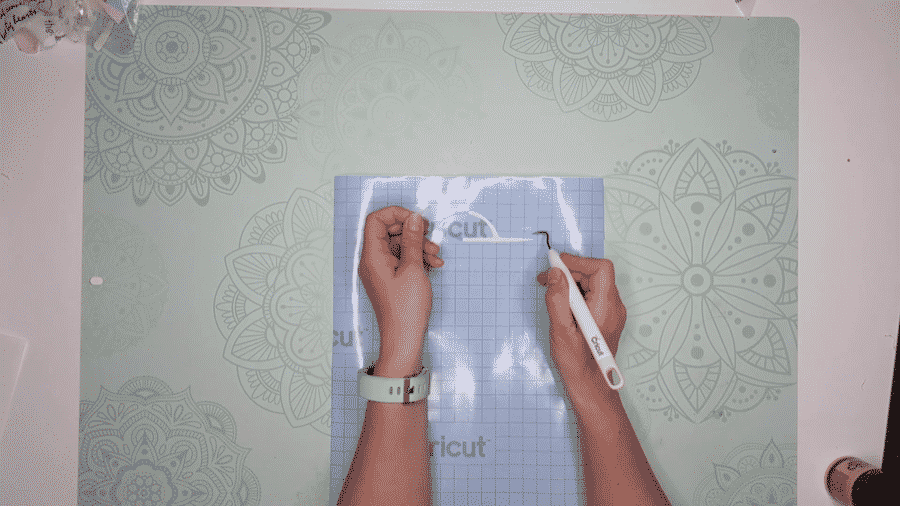
With weeding, we’re removing the negative space of our design. That basically means we’re removing the parts where we want the paint to go through, and keeping the parts where we want to see wood.
With a stencil, it’s kind of the opposite of how we normally weed, where we keep the design and remove the rest.
This is also where you’re going to grab your transfer tape and apply it to the vinyl. I like to use a towel and remove some of the tackiness from my tape before applying it, you can skip this step if you’d like.
![]()
Note: after the first time, you probably won’t be using transfer tape with your stencil because you’ll be removing it once it’s on the wood. So if you want to reuse your stencil after this project, make sure it’s one that can be lined up by hand in the future.
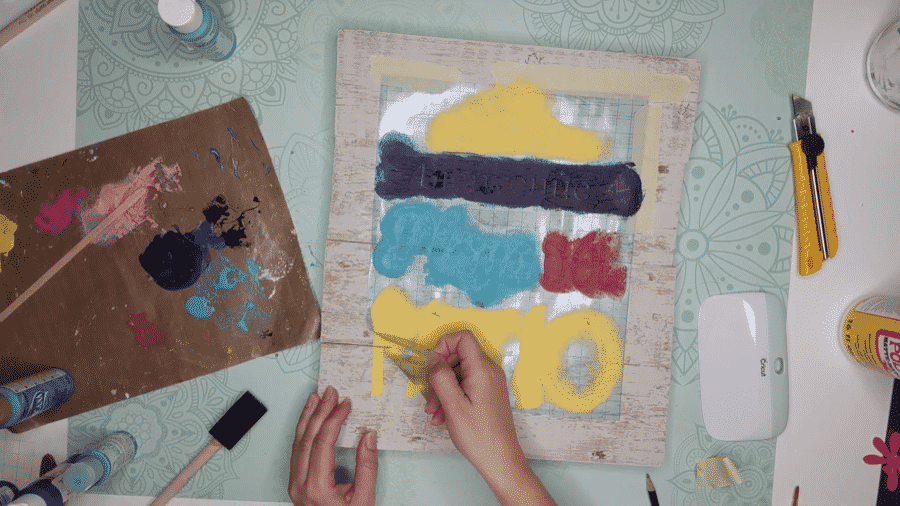
Step 5 — Stenciling on wood
Now that your stencil is on the transfer tape, it’s time to apply it to your wood sign.
If you’re taking a look at the wood and seeing that it’s uneven or rough, you’ll want to use some 150 grit sandpaper to get it to stick better. If the surface looks smooth or it’s already been painted or stained, no need to sand.
Be careful to line it up and make sure that it’s both level and centered. If you don’t like how the stencil looks on the transfer tape, you can remove pieces of it and lay them on the wood by hand, but in my experience, it’s a lot easier to get it to look right earlier on in the design step.
If you’re having trouble getting it centered, you can use a tape measure to make sure the margins are the same length.
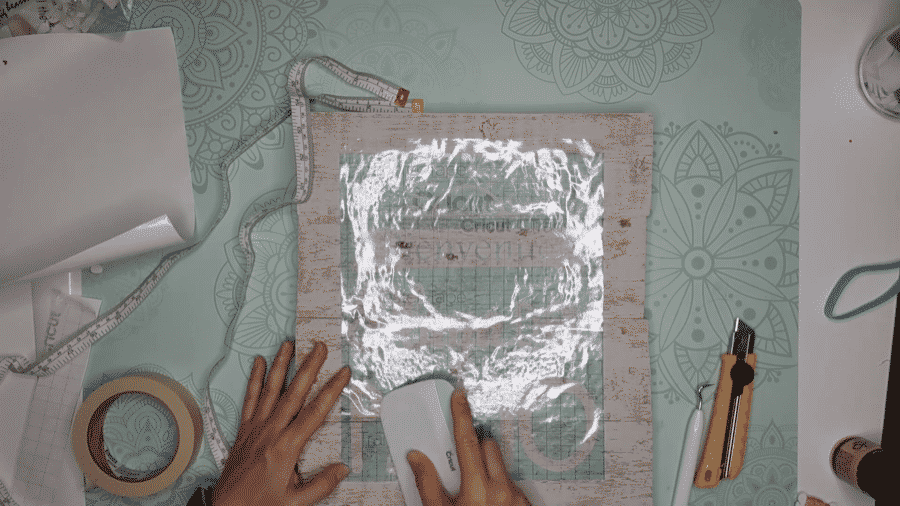
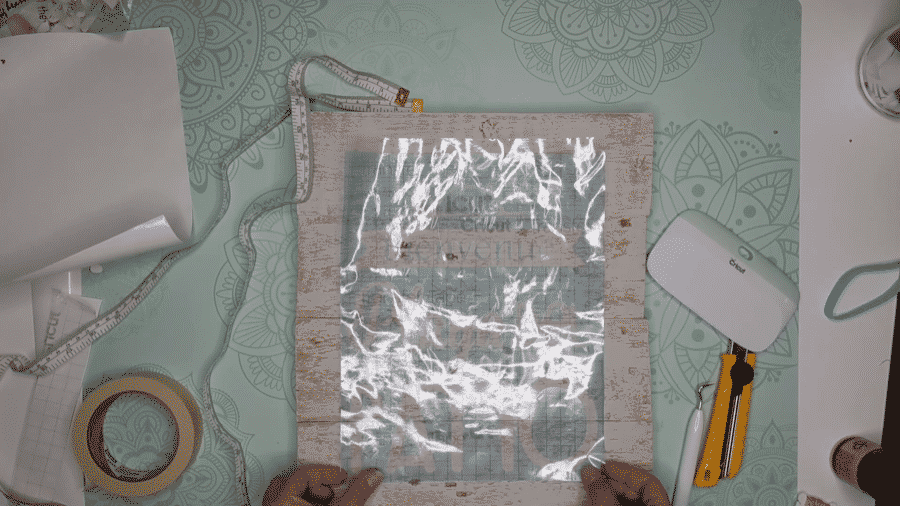
Once the stencil is lined up, press down on the wood and use your scraping tool (or any hard piece of plastic) to burnish the vinyl to the wood. You want it to stick pretty well so that no paint will get underneath the stencil.
Step 6 — Apply Mod Podge to prevent bleeding
Here’s our trick for how to prevent paint bleed and to keep paint from pooling under the stencil, and it works really well.
You want to apply a coat of Mod Podge over the stencil. It should be a pretty thin coat, but make sure it’s applied evenly. You’re going to let it dry for 30-90 minutes (longer is always better). If you applied WAY too much (it happens!), let it dry for as long as it needs, or use a fan to help it dry a bit faster. Waiting overnight is never fun, but it doesn’t hurt.
Step 7 — Paint the wood sign

Here’s the fun part!
(Okay, I’ll be honest, I like weeding vinyl best, but I’m told that’s weird.)
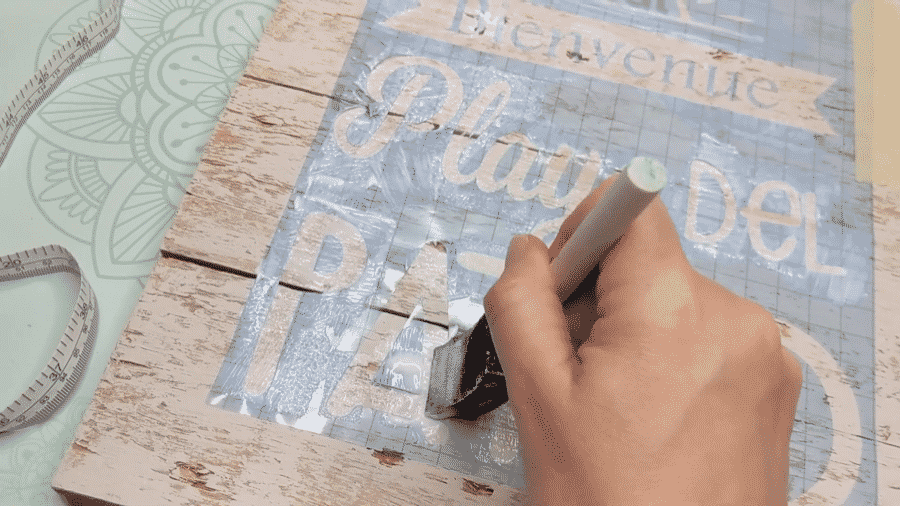
If you’ve never used a stencil before, you use a slightly different technique for painting than you might be used to. Instead of using broad up and down strokes, you’re going to dab at the surface using something that’s called the stippling technique.
The reason we stipple is that even with the Mod Podge (and if you didn’t have any, this technique will definitely help you with paint bleed) it’s possible to trap paint under the stencil when we apply it. We want to give ourselves the cleanest lines possible, so we’ll stipple!
If you have a stenciling brush, that’s fantastic, they’re short, stubby brushes that are designed for stippling, but any brush or even a sponge will work.
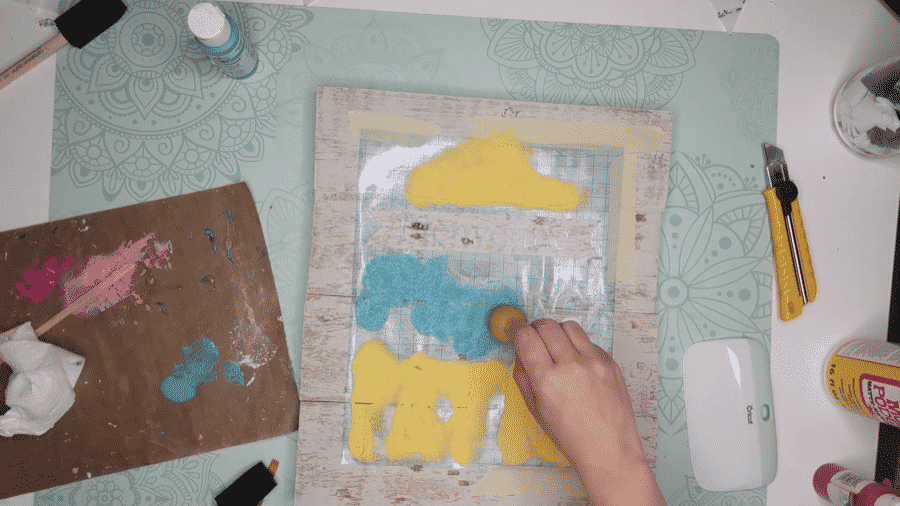
I like to use a paper plate and a folded-over paper towel — I put a little reservoir of paint on the plate, and I load it onto my brush. Then I load some off on the paper towel, you want the brush to be damp, not super wet with paint. As I dab on to the surface, I load more paint on, make sure to remove some on the towel, then dab some more, repeating this process.
After you’ve applied the paint, the only thing to do is… wait. It depends of course on how much paint you used, but at least 90 minutes is best. Unlike the Mod Podge, I wouldn’t apply a fan or try to dry painted signs more quickly, so wait overnight if you really need to and want to play it safe.
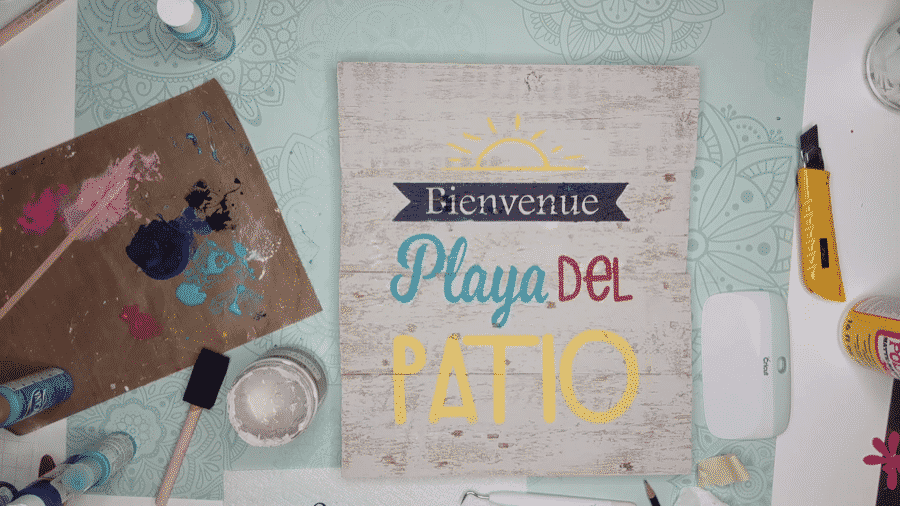
After the paint has dried, slowly peel the vinyl. If you have small bits that are hard to remove, you can try to use a weeding tool to get under their edges, but be a bit delicate if you want to reuse it later.
Step 8 — Seal the wood sign (optional)
I don’t usually seal my signs, but I know people who swear by it, so it’s definitely optional.
If you want to seal, I’d go with any clear coat (some are matte, others will give you a glossy finish). Either Krylon or Mod Podge both work great, and if you’re buying one, I’d go for the spray because the application is a lot easier.
If you’re considering using a polyurethane coat, just know that it often turns slightly warm/yellow when exposed to UV light, so you’ll want to avoid using it with any light/white surfaces because they can look a bit dingy after a few months.
Choosing your paint
Choosing the right paint is essential for ensuring a neat and long-lasting result for your signs. We’ll go over the most popular paint choices and when you should use each one.
Chalk paint
I love using chalk paint to stencil on wood. It’s super versatile and easy to use and you get a smooth, matte finish that goes great with a rustic or vintage-style wooden sign. Chalk paint is quick-drying too, which makes it an excellent option for layering and creating intricate patterns. It’s also easy to distress, making it ideal for achieving a weathered or antique look.
Acrylic paint
Acrylic paint is often used because it’s reall inexpensive and easy to find in a wide range of colors. It dries quickly and has excellent adhesion to wood surfaces. When using acrylic paint, it’s essential to apply it in thin layers to prevent bleeding and create sharp lines. Seal your project with a clear coat for added protection and a longer-lasting finish.
Stencil paint
This paint is specifically designed for stenciling projects and works well on wood surfaces. It has a thicker consistency than other paints, which helps prevent bleeding and ensures crisp, clean lines. You’ll sometimes see it sold as “stencil ink” but it’s the same thing!
Spray paint
Spray paint is great to use when you have an outdoor space and want a really smooth, even finish. The only trick is you’ll want to hold your spray paint a little fair away so that paint doesn’t seep underneath the entire stencil. Things to remember are: do it outside in a well-ventilated area and wear proper protection.
Latex paint
Latex-painted wood unfortunately has its own unique look and it’s not… great. It has a thinner consistency than other paints and is really prone to bleeding under the entire stencil. If you do want to try it (and I always encourage experimentation), definitely apply in thin layers and let them dry before applying the next for cleaner lines.
Selecting your wood
We’ll cover your different options for wood, both getting into material selection, whether it’s painted or sealed and how to handle each unique type if that’s what you have on hand.
Sealed wood has a protective finish applied like varnish, polyurethane, or lacquer. This layer increases its resistance to moisture, scratches, and stains while giving you a smooth surfer for stenciling.
The downside is you may need to sand the surface to help the paint adhere better.
Unsealed wood has no protective finish applied, which means the natural texture and grain are more visible. Unsealed wood can be more susceptible to moisture, stains, and scratches. However, it offers a more porous surface, allowing paint to adhere more easily when stenciling. If you’re working with unsealed wood, consider sealing it after stenciling to protect the sign and prolong its life.
Painted wood has a layer of paint already applied, which can add color and style to your sign. When stenciling on painted wood, make sure the existing paint is fully dry and free of any peeling or flaking. Sand the surface to make sure your new paint can adhere, and consider using a primer if you want a completely new look.
Stained wood has a colored finish that enhances the natural grain and texture of the wood. Stains can range from light to dark and can create a more rustic or traditional look. When stenciling on stained wood, make sure the stain is completely dry before applying the stencil. You may need to lightly sand the surface to help the paint adhere properly. Choose a paint color that contrasts well with the stain to ensure your stencil design stands out.
Reclaimed wood, such as old pallets or barn wood, is an excellent choice for creating rustic and vintage-style signs. These types of wood often have unique textures, knots, and imperfections that add character to your finished sign. However, reclaimed wood may require additional preparation, such as sanding or cleaning, to ensure a smooth surface for stenciling.
What if it’s an uneven surface?
Working with an uneven wood surface can be challenging, but it’s not impossible. First, sand the surface as much as possible to create a smoother area for the stencil. If the surface is still uneven, consider using a flexible stencil material that can contour to the wood’s shape. Apply the paint in thin layers and use a stencil brush with stiff bristles to dab the paint onto the uneven surface gently.
Applying paint to wood surface
We covered a few methods above, but I want to cover my favorite technique briefly, known as dry brushing.
The dry brush technique involves taking a small amount of paint on paint brushes and then wiping off the excess before applying it to the wood surface. This technique helps to prevent paint from bleeding underneath the stencil and creates a more textured, distressed look.
To use this technique:
- Dip your brush into the paint, ensuring the bristles are coated evenly.
- Wipe off the excess paint with a paper towel or cloth until brush is almost dry.
- Gently dab or brush the paint onto the wood surface using light, even strokes.
- Apply additional layers of paint as needed, allowing each layer to dry before applying the next one.
What to avoid
Well, the tutorial above on how to stencil on wood is going to give you a great chance at success. Stenciling with paint is typically pretty easy, but there can be complications.
If you really want to get things looking perfect, here are some tips for what to avoid when making stencils for wood:
- Avoid using permanent adhesive vinyl. I’ve seen a lot of tutorials which recommend it, but this kind of vinyl (Oracal 651) is designed to adhere to a surface for years and can be really tricky to remove. And if you do manage to get it off, it will likely ruin the stencil and it’ll be a one-time craft.
- Don’t remove the stencil too early. Even with applying Mod Podge, we want to give ourselves the best chance at having clean lines. If it’s a small design that will be seen from far away, the linework doesn’t quite matter as much and you can be a little sloppier, but I’d still recommend letting that paint dry.
- Don’t use too much paint. If you’re using a stencil brush, that’s a great start, but don’t overload the brush with paint, it shouldn’t be dripping or even very wet, we want a very damp paint brush tip.
- Be careful stenciling on stained wood, uneven wood, or wood with a very rough surface. The rough surface isn’t too bad to paint on, but applying the vinyl will be difficult and there will be many tiny channels leading to underneath the stencil which will carry the paint once applied. It’s best to sand or paint wood like this first.
If you’re learning how to stencil on wood for the first time, don’t be too intimidated by some of these steps.
If you don’t have the right materials, just use what you have and I promise that you’ll learn a ton in the process and even create some beautiful mistakes!
Conclusion
If you haven’t figured it out by now, I love making wood stencils and have taught so many of my friends how to stencil on wood.
Stenciling wood signs is super easy, can really add a unique look to your home decor, and helps guarantee a great painted look every time.
Above I’ve given you some tips on the kind of brush to use, a project idea or two, and tips for applying paint to wood without bleeding.
If you make your own project, please share a link with me in the comments. I love seeing the great stuff you guys come up with, and please share this article if it was useful for you.
FAQ
What kind of paint should I use on wood signs?
The two most common options are acrylic and chalk paint.
Chalk paint: works really well on just about any surface with minimal sanding. The same materials in the paint that give it a matte look also give it the ability to adhere even without primer. Great choice if you want that style.
Acrylic paint: a bit harder to apply without sanding or primer, but it does look great and comes in a much wider variety of finishes and colors.
I’d use either, depending on the look I wanted, and like any craft project, I always encourage people to experiment!
How else can I make wood stencils?
Will, from Wm. Walker Co. has a quick DIY stencil method that he uses, check it out here.
How do you get crisp lines on wood when stenciling?
Two basic tricks for perfect stencil lines:
Apply Mod Podge: you’ll want to apply an even coat of Mod Podge over the surface.
Use a stippling technique: using a sponge or stenciling brush, instead of painting with up and down or side-to-side strokes you want to dab at the surface of the wood with a damp brush.
Don’t worry too much about the kind of paint you use, acrylic can work just fine with the right technique. If you don’t have a brush, you can always use spray paint but just make sure to do it in a well-ventilated location (like outside) and mask off the rest of your project so it doesn’t get paint on it.
How do you stencil on wood without bleeding?
To stencil on wood without bleeding, follow these tips:
- Use a high-quality stencil that adheres well to the wood surface.
- Apply a repositionable spray adhesive or painter’s tape to secure the stencil in place, ensuring there are no gaps between the stencil and the wood.
- Use a stencil brush, foam, or makeup sponge to apply the paint in thin layers.
- Use the dry technique above or dabbing motion to apply paint, as opposed to sweeping or brushing motions.
- Allow each layer of paint to dry before applying the next coat.
- Carefully remove the stencil while the paint is still slightly damp to prevent peeling or tearing.
How can you fix stencil bleed?
If you experience any stencil bleed, you can fix it by taking a small brush and carefully touching up the affected areas with the background color. This will help to hide the bleeding and create sharper lines.
What do you do with the wet paint while it’s drying?
While the paint is drying, you can work on other areas of the project or prepare for the next steps. Be sure to keep the wet paint away from dust and debris to avoid any imperfections.
Should you use multiple coats or a light coat first?
As mentioned above, it’s best to start with a light coat first and build up layers as needed to avoid stencil bleeding and achieve the desired color intensity.
Does a makeup sponge work instead of a foam brush?
Yes, a makeup sponge can work well for stenciling, as it allows for precise paint application and minimizes the risk of bleeding. Be sure to use a clean, unused makeup sponge and dab the paint gently onto the surface.
What is the Mod Podge trick?
The Mod Podge trick involves applying a thin layer of Mod Podge over the stencil’s edges before painting to get perfect stencil lines. This helps to seal the stencil’s edges and prevent paint from bleeding under it. Apply the Mod Podge carefully and allow it to dry completely before applying paint.
How can you prevent sticky residue or remove it?
To prevent sticky residue, consider using a repositionable spray adhesive that is specifically designed for stenciling. If you’re using tape, choose a low-tack painter’s tape. For removing residue, use a soft cloth dampened with warm, soapy water or a gentle adhesive remover. Be careful using Goo Gone.
What is repositionable spray adhesive?
Repositionable spray adhesive is a type of adhesive that can be easily removed without leaving a residue or damaging surfaces. It is ideal for stenciling projects, as it allows you to secure the stencil to the wood surface without causing damage or leaving a residue. Remember to follow apply the spray adhesive in a well-ventilated area.
How can I turn a picture into a wood stencil?
There’s a great tutorial from Wicked Paint which uses stencilcreator.org to create a really advanced multilayer stencil from just about any image.


